
What are Premium Cellular PVC Siding Pros, Cons, Cost and Long Term Value? This year, at the International Builders’ Show in Orlando, I saw trends and new products that...
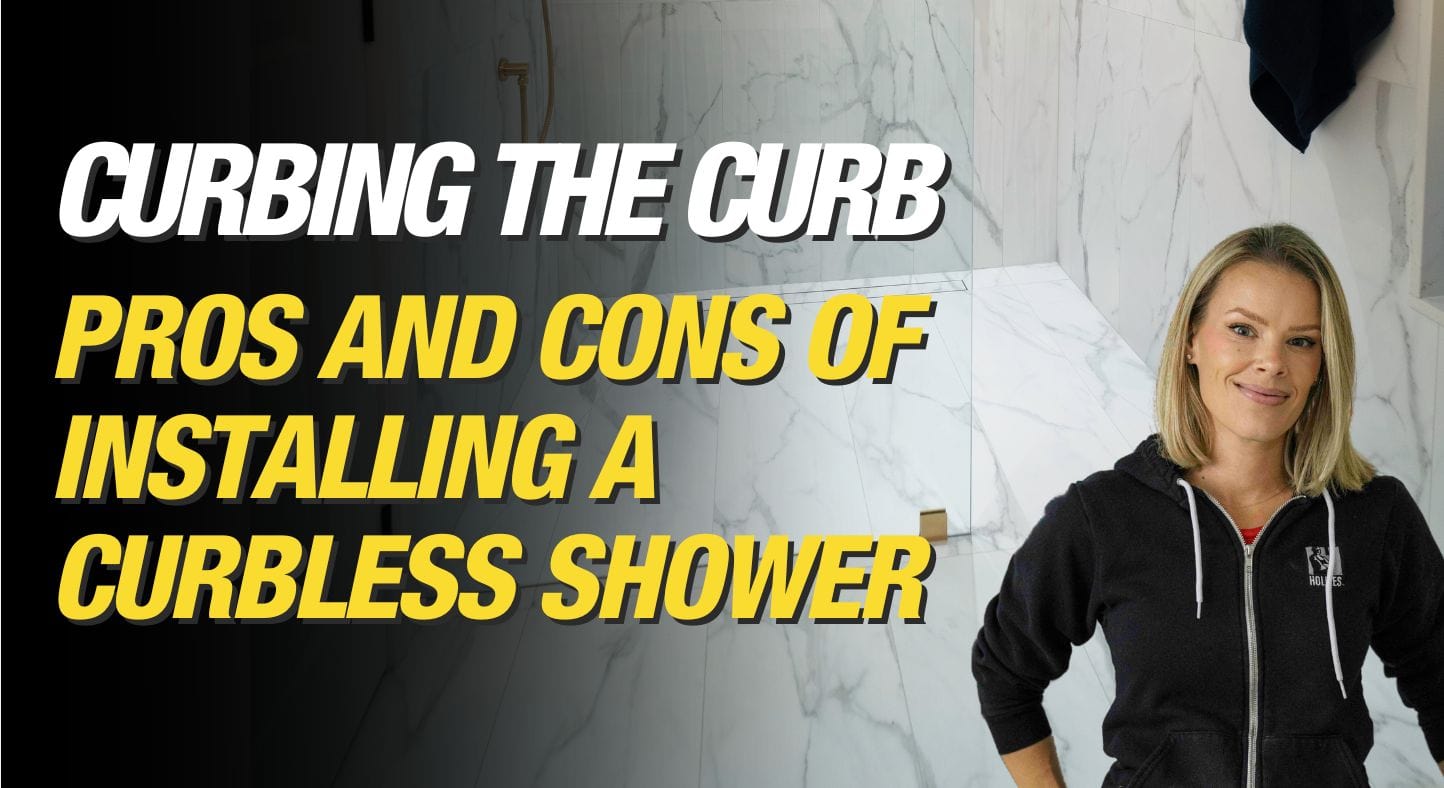
Curbing the Curb: Pros And Cons to Building a Curbless Shower
By Sherry Holmes
Mike’s Advice / Bathroom Renovation
Wednesday, May 1st, 2024 @ 11:17am
Is a Curbless Shower Right for Your Bathroom?
When we talk about open concept, usually the focus is on kitchens or living and dining rooms. When it comes to bathrooms, where space is at a premium, an open-concept bathroom can help make a small space feel big. But how do we get this effect? Knocking down walls isn’t going to work for privacy’s sake, so we need to find space within those four walls to open up. Where do we focus those efforts? Start with your shower. Open-concept, or curbless showers are a concept that’s growing in popularity – and for good reason.
Curbless showers offer accessibility – and lots of flexibility in design. When we remove the barriers for our shower, we can also create a seamless look in the bathroom, making it look and feel bigger.

We wanted to build Noah a space that he could use for years to come and can give him a bit more independence. So we installed this curbless shower with grab bars so he can more easily navigate the bathroom on his own.
My dad is working on a bathroom renovation project right now for a family with a child who will have mobility issues in the near future. Removing their tub and putting in a barrier-free shower was the first thing that popped into my head. Now the kid will be able to use his bathroom fairly independently.
READ MORE
Pros and Cons of A Curbless Shower
There are reasons for and against installing curbless showers. While I believe that the pros outweigh the cons – here are a few things you should think about if you’re considering a curbless shower for your next bathroom project.

These homeowners we helped the husband suffered from a stroke and needed an accessible bathroom he can easily walk into without the risk of tripping or falling. So we installed a curbless shower for them.
Pro: Functionality
My dad likes to talk about building your forever home. Forever home, meaning a house that ages with you and your changing needs. A curbless shower offers improved accessibility to everyone from the very young to the very old.
A main floor bathroom with a curbless shower offers a lot of advantages to homeowners who have trouble making the step into the tub or shower as they slow down with age.
My house has an office space on the main floor with an attached bathroom with a curbless shower. So if we stay in this house for decades, we will have the option of converting this office space into a bedroom and using this bathroom as our main hub for bathing. We plan to stay put for a while, so this makes a lot of sense for us.
READ MORE
Con: Water Can Get Everywhere
Installed properly, you’ll be fine – but if you don’t plan it well, you could have some pretty big problems with water and your curbless shower. Without a curb, the shower water isn’t contained in the tub area and can get EVERYWHERE.
You don’t want to have to clean up a bunch of extra water after your shower, do you? I know I don’t.
There are a few ways you can alleviate this. A rain head fixture keeps the water in a more contained area. A curved shower wall can help direct the water to the drain as well. The most important consideration is to make sure to slope the shower floor away from the shower entrance.

While you still need to slope the floors, another alternative is adding a small lip to your shower, to stop the water from getting out but while keeping the shower area easily accessible.
Pro: Easier to Clean
This is a big advantage for me. Who actually likes cleaning the bathroom? A curbless shower creates a much more open, maneuverable space, making those areas easier to reach in and clean.
Con: Lack of Privacy
If you grew up with a big family with no shame, you may be used to people just walking in while you’re in the bathroom. Many curbless showers are pretty open – and without an obscuring curtain or door, well, you better start locking that bathroom door.
Pro: Luxury, Spa-like Showers
Curbless showers give you lots of flexibility when it comes to design. Additions like benches, in-set shelves, niches, and even heated floors are all possible in your curbless shower.

We installed this light up shower niche from Schluter and it turned out amazing really added some flair to this bathroom reno.
RELATED

Building a Curbless Shower
Your shower needs to properly direct water to the drain. That makes sense, right? So how do we make this happen? It’s all about the way we build it.
Step One: Laying Your Sloped Shower Tray
Adding a shower tray eliminates the need for a mortar bed. Pre-fabricated thin shower trays like the KERDI-SHOWER LTS are easy to install and accommodate the KERDI-LINE linear drain.

Schluter®-Systems offers two ways of waterproofing your shower: KERDI-BOARD and KERDI. Both of these systems allow you to integrate the KERDI-LINE linear drain for a seamless shower design.
Step Two: Adding Waterproofing
Did you know that shower tiles and grout are not inherently waterproof?
That may come as a shock to you, so what do you do to protect your bathroom from moisture penetration? KERDI waterproofing membranes offer protection behind your shower walls that keeps your shower protected against mould and mildew penetration.
RELATED
How To Make Your Bathroom Watertight
Bathroom Flooring Guide: Schluter DITRA-HEAT Peel And Stick Product-Review
Step Three: Building Walls
If you’ve seen us work on a bathroom before, you’ll probably be familiar with KERDI-BOARD.
Cement backer boards are water-resistant, but KERDI-BOARD is waterproof and offers an extra line of protection against moisture.

Schluter® KERDI-BOARD is the ideal substrate for walls and ceilings and is so versatile you can build almost anything with it.
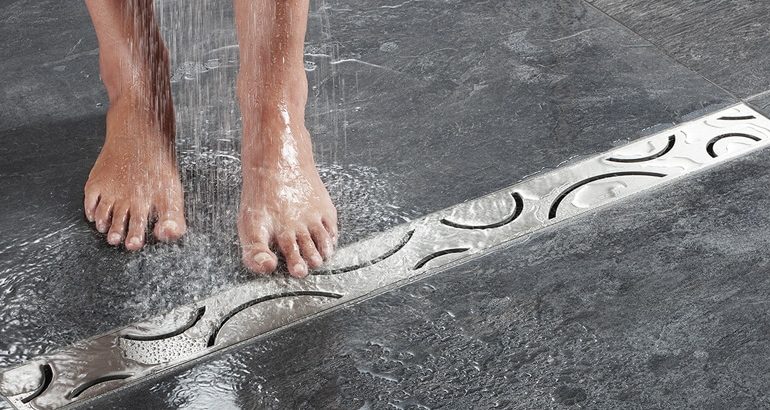
Step Four: Draining Water
Finally, it’s time to install your drain. Linear drains let the shower floor pitch in one direction (where the drain can be installed almost anywhere in the shower), while a point drain requires the floor to be sloped in four directions.

Schluter Linear Drain installed on our project for a curbless shower.
Check out this curbless bathroom from Holmes+Holmes Season 1.
RELATED
So you’re looking to revamp your bathroom and create a more spacious feel? A curbless shower might be the perfect solution! These open concept showers offer a range of benefits, from improved accessibility for all ages to a sleek, modern design. But before you demolish your current shower, weigh the pros and cons. Sure, curbless showers can create a luxurious spa experience, but proper installation is key to avoid water issues.
READ MORE
How To: Pick Materials for Your Next Bathroom Remodel
9 Must-Have Design Features For Your Next Bathroom Renovation
Adding a Basement Bathroom & What You Need To Know
How To Make A Statement With Matte Black Fixtures In Your Bathroom
Related Articles

Sherry Holmes on Her Construction...
In celebration of Women in Construction Week, I thought I'd share my construction journey. People...

Garage Door Secrets You Should...
Choosing The Right Garage Door Choosing the right garage door involves more than just aesthetics....

Tips for Designing Your Perfect...
I'm sure everyone has there opinions on designing your perfect closet. Let’s face it—we could...