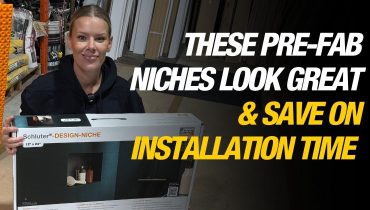
When Lisa Marie and I started planning our new primary bathroom, we agreed on one thing right away. We had to use Schluter Systems to ensure the wet-room bathroom waterproofing...
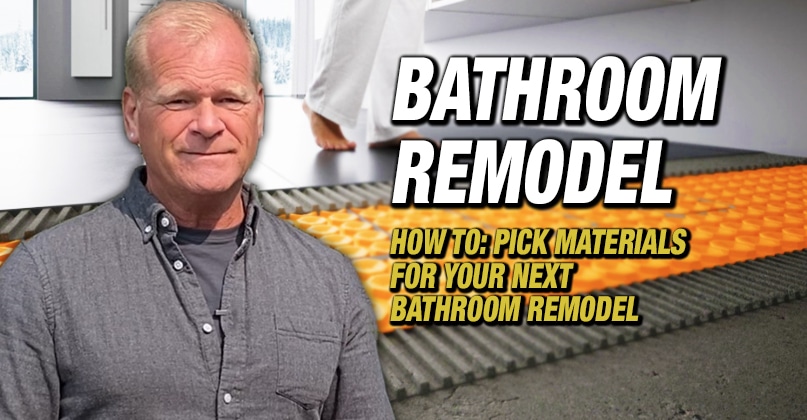
How To: Pick Materials for Your Next Bathroom Remodel
By Mike Holmes
Mike’s Advice / Bathroom Renovation
Wednesday, December 2nd, 2020 @ 11:27am
Choosing the right materials when taking on a bathroom remodel project will ultimately save you time and money in the long run. You want to make sure your bathroom is watertight! If not, it will lead to mould, mildew, and even possible structural damage. It comes down to the materials you choose and the proper installation. I recently did my bathroom as well so I know!
Here are my tips for choosing the right materials for your next bathroom renovation job.
Structure/Underlayment
It’s essential to make sure you demo down to the studs, especially if you know you’ve had some previous water damage. Doing this allows you to inspect the wall and subfloor and fix any issues, like water-damaged drywall, rotten studs, and mould.
Sub-Walls and Waterproofing Materials
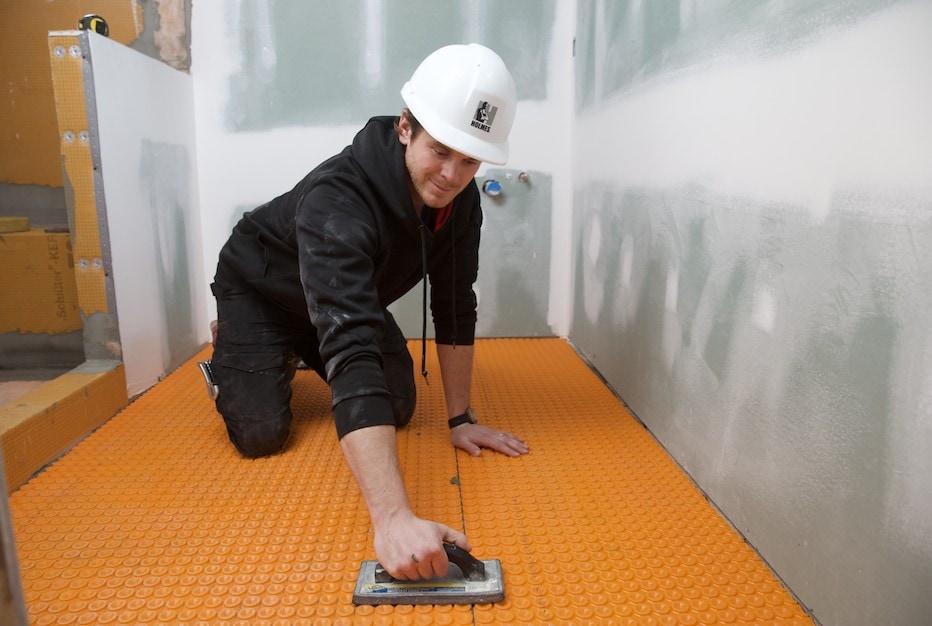
When renovating a bathroom, the key is to make it watertight! I always recommend you pick products that create a continuous layer of moisture protection. A high-quality waterproof system below your tiles is also a must if you want your renovation to last. My “go-to” product is KERDI-BOARD, but I love all the products by Schluter Systems. It’s the orange stuff you see me use on many of my shows. It is lightweight, easy to cut, waterproof, and vapour-retardant. To me, it’s the ideal tile substrate.
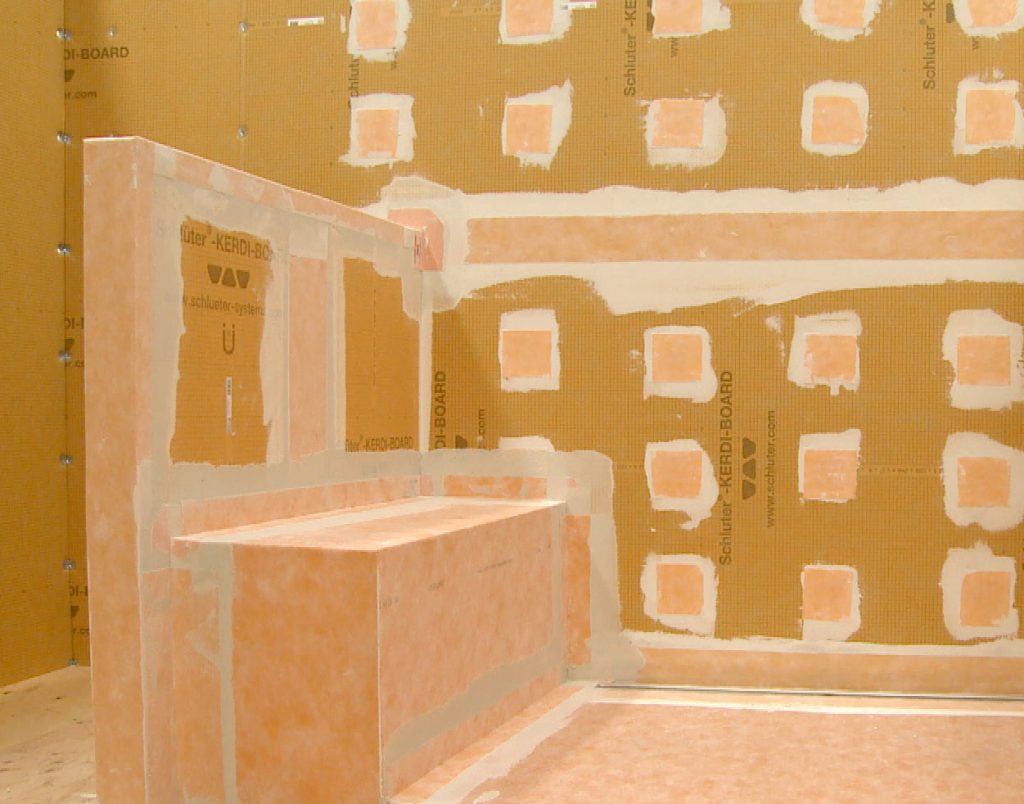
Schluter-KERDI-BOARD is my go-to product!
Schluter-KERDI-BOARD is suitable for wall tile installation and strong enough to create structures like tub surrounds, shower benches and curbs, knee walls (partition walls), and shower niches. It’s so versatile that you can even create custom vanities, shelving, and floating shelves. KERDI-BOARD-V is a grooved substrate and building panel that allows you to create curved or rounded structures – enabling you to do some pretty cool designs!
With some extra care around the installation, KERDI-BOARD can be installed over stud frame structures or existing uneven substrates. Use Schluter profiles to finish off the tile edges.
READ MORE:
Subfloors
Uneven floors? Make sure the floor is 100% level and true! A level floor will prevent cracks, dips, and even squeaks on your bathroom floor. Plus, the installation of the tile will be that much easier with a level floor. If you find that your subfloor is uneven, I recommend using a self-levelling compound. A self-levelling compound will level the floor and can be used over concrete or plywood sub-flooring.
The process includes a primer and a self-levelling compound. The green primer is applied to the subfloor using a roller. Once the primer dries, it turns translucent (it takes about an hour to dry, if it’s still sticky, it’s not quite dry yet). Then the self-levelling compound is mixed with water and ready to pour either manually or with a pump – nothing else is required, and it dries in about 4 hours, and tiling can begin after 24 hours.

We use Sika L-125 Floor Self-Leveller on all our projects.
In-floor Heating
Who likes walking on a cold floor? I sure don’t. That’s why I’m a big fan of in-floor heating and highly recommend that you install it in your next bathroom reno. In-floor heating technology has improved tremendously that it can even be installed in an existing bathroom. Plus, many systems incorporate smart technology.
Schluter’s electric floor warming system includes uncoupling technology in their DITRA-HEAT line, which keeps your tiled floors and grout from cracking. Plus, the design allows you to install cable only in the areas that require heating. It’s pointless to put heating underneath your vanity! DITRA-HEAT electric floor warming system offers a Wi-Fi thermostat making programming the floor warming system fast and simple, allowing you to control the temperature while on the road, at work or at home.
The best thing about the DITRA-HEAT installation is that the entire area can easily become waterproof by just sealing the seams and floor/wall connections with KERDI-BAND and Schluter SET, ALL-SET, FAST-SET or an unmodified thin-set mortar. The result is a waterproof installation that will not suffer damage in the event of an unexpected water leak.
RELATED
Countertops
Engineered quartz, granite or porcelain would be my picks for bathroom countertops. Why? Engineered quartz is durable, strong and non-porous. It can mimic real stone and doesn’t require sealing. Granite is another great option but it does require maintenance and resealing.
Porcelain countertops are also another popular option. Porcelain is very durable, scratch-resistant and low maintenance (no sealing required), though porcelain tends to be more limited in design and colour choices – it also lacks the depth that quartz has.
Tiles
Porcelain tile is the best option for bathrooms. It’s durable, easy to clean, and has a low moisture absorption rate (meaning it’s ideal for high-moisture areas)! Porcelain tiles also retain their heat, so they are a perfect choice when paired with in-floor heating.
The great thing is that they are available in all sorts of colours and finishes to mimic marble and wood panelling. They are also very versatile in that they can fit into any colour or design scheme. I’d also recommend picking a tile with a matte finish – high gloss tiles can be very slippery.
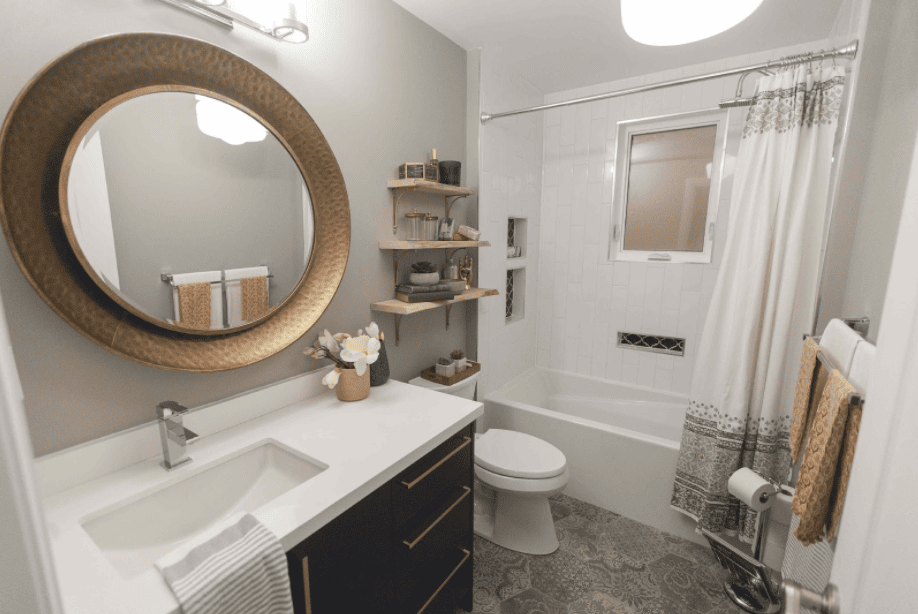
Sherry did a great job on the mosaic tile for this bathroom remodel from Next Gen.
For a clean and seamless look, I love the idea of tiling the entire bathroom! Of course, there are other types of tiles like ceramic, glass, stone, and laminates, but I would always suggest porcelain for any bathroom.
RELATED
Faucets, Taps, and Showerheads
I know everyone can get excited about choosing faucets and fixtures, and there are many nice looking, quality fixtures available but don’t go overboard! Faucets come in single-hole, center-set, widespread (3-holed) mounts, and wall mounts. No matter what you choose, make sure it has a quality valve (this controls the water flow through the spout) and a washer. Many faucets on the market are eco-friendly and provide significant money savings too!
Don’t go overboard with your faucet – make sure solid brass, brass-based metal, or corrosion-resistant metal.
Remember, you can still choose faucets in the latest trends or styles. Just make sure the faucets are quality made with solid brass, brass-based metal, or corrosion-resistant metal. Also, I prefer to choose the same finish throughout the bathroom for continuity, so your cabinet and door hardware match.
Make sure faucets are installed properly so they don’t leak or drip. Those drips add up to a lot of wasted water in the span of one year!
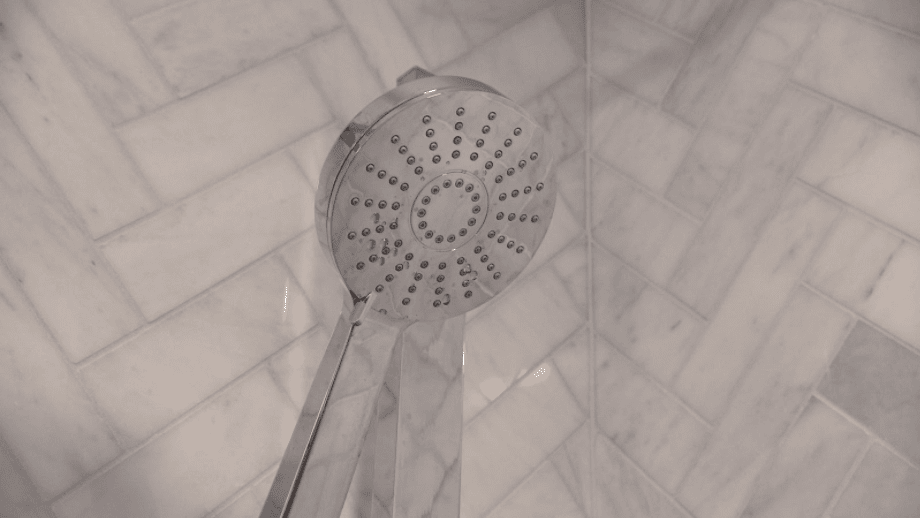
New low-flow showerheads can provide substantial water savings resulting in lower energy bills.
Showerheads are no different and come in an infinite number of styles from simple to multi-functional. Of course, the more elaborate the shower, the more water is used. However, new low-flow showerheads can provide substantial water savings resulting in lower energy bills!
High-Efficiency Toilets
I highly recommend installing a high-efficiency toilet and replacing your old toilet. Older toilets use a lot of water, up to 30% of a household’s total water consumption – that’s 16-20 litres of water per flush! Newer toilet models use much less water (6 litres or less per flush), and ultra-low flow use as little as 3 litres of water per flush. Many low-flow models also include a dual flush, so there’s the option to use less water per flush! That can make a big difference to your utility bills.
RELATED:
11 home defects every homeowner should spot like a wobbly toilet
Curb-less Shower
If you have more than one bathroom, I would highly recommend converting the other bathroom into a stand-up curb-less shower. It just makes sense, especially as we age. Having a mobility-accessible shower ideally on your home’s main level will allow you to stay in your home longer. Generally, I would say a home doesn’t need more than one bathtub, but extra showers offer great value to your home!
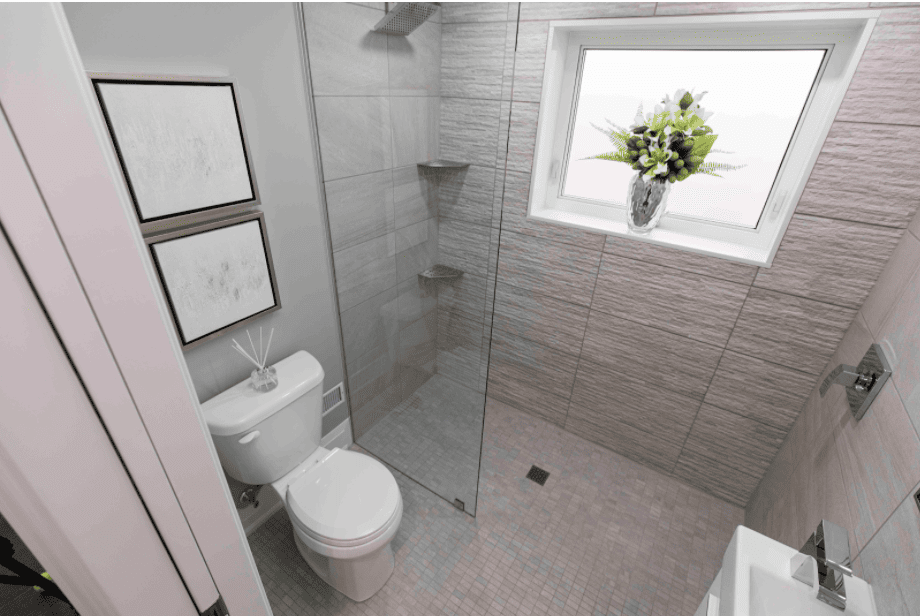
Curb-less Shower from Holmes and Holmes S3
Shower Drains
When designing a curb-less shower, you will need to consider the type of drain you will use. What kind of drain? Does it matter? Yes, it does.
There are two types of shower drains; a point drain and a linear drain.
A point drain is a square or circular shaped drain in the centre of the shower. The floor surrounding the drain needs to slope in all directions towards the exit point, so the water can quickly drain. A smaller tile is ideal for this application as the tiles can easily follow the slope. I often use the Schluter®-KERDI-DRAIN for this application.
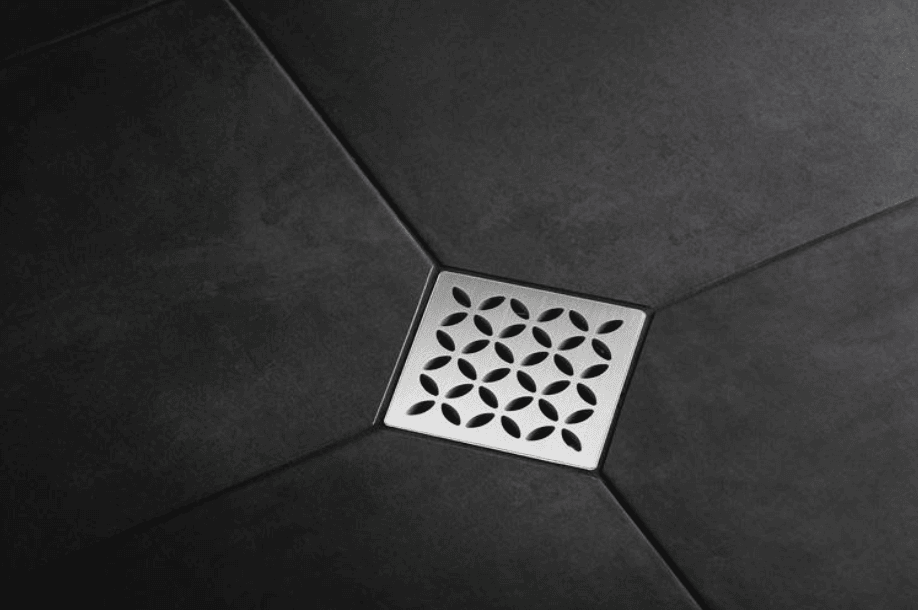
Schluter®-KERDI-DRAIN comes in several styles: the Floral design is shown here
This drain has a bonding flange that allows the waterproofing membrane to be sealed right to the top of the drain, so there is no way for moisture to escape. The grate on this drain can be easily adjusted for different tile thicknesses to make my job easier.
Linear shower drains are just those, long, narrow rectangular grates that have the capacity, due to the design, to capture a large amount of water and direct it to the exit point.

The Schluter®-KERDI-LINE low-profile linear drain is the ideal choice for a mobility-accessible or curb-less shower. Pure design is shown here
This type of drain works well for a modern, open-concept curb-less shower design as the floor of the shower can be sloped on a single plane, which allows for large-format tiles to be carried from the bathroom floor right into the shower to create a totally seamless look. Linear grates are often placed at the entrance of the shower or up against the wall – due to the design linear drains work well with shower towers or jet-shower systems.
RELATED:
Exhaust Fan
Proper ventilation is essential in a bathroom – think about all the water vapour and steam from a hot shower! So installing an exhaust fan is an absolute must! I suggest running the fan for at least 30 minutes and opening the window as well, and leaving the bathroom door open.
Keeping the window open will also help with proper airflow. To prevent mould and mildew, make sure the fan extracts moist air to the outside and not into the wall or the attic. If your bathroom isn’t able to accommodate a window, an exhaust fan is code – but I like to see both, if possible.
For bathrooms up to 100 square feet in size, you should have an exhaust fan to provide a minimum of 1 cubic foot per minute (CFM) per square foot of floor space. I’d go higher—especially in a larger bathroom, or one with several fixtures, a shower, or a jetted bathtub.
RELATED
Swidget Controls Built Into Light Switches
The Swidget system is smart switch inserts that are easily fitted into your current light switches and can be used for a variety of reasons such as acting as a security camera or managing your indoor air quality, which I think is amazing.

Checking out the Swidget insert we installed on one of our projects for Holmes Family Rescue.
So let’s say you jumped in the shower without turning on the exhaust fan. No problem! The Swidget smart controls incorporate temperature and humidity sensors that can turn the fan on (or off) without your intervention.
READ MORE:
A bathroom is an essential part of our home and is probably the house’s most used room. So, it’s important that they function properly. Make sure your bathroom renovation is watertight by using good quality waterproof materials and having proper airflow – this will ensure that your bathroom will last for many years. Whether you’re renovating your existing bathroom or want to add an additional bathroom using these products will help you get the most out of your bathroom.
READ NEXT
