When Lisa Marie and I started planning our new primary bathroom, we agreed on one thing right away. We had to use Schluter Systems to ensure the wet-room bathroom waterproofing...
3 Common Flooring Mistakes & How-to Solve Them
By Mike Holmes Jr
Mike’s Advice / Flooring
Friday, June 14th, 2019 @ 12:29pm
When you start opening up walls and floors, you’re bound to find something now and again. Believe me, over the years I have discovered a lot of things after opening up a renovation. Unfortunately, most of them are bad!
We have uncovered windows, doors and so many other things that should never be covered up. One of the things that is most frustrating to uncover, is flooring. Have you ever done a demo where you start tearing out a floor only to discover that there are several more layers underneath? I have, and it is not fun.
The flooring installation process requires a certain level of skill, planning and research. Consider different flooring options depending on the room you are renovating and avoid these three mistakes:
Overlaying Flooring Materials
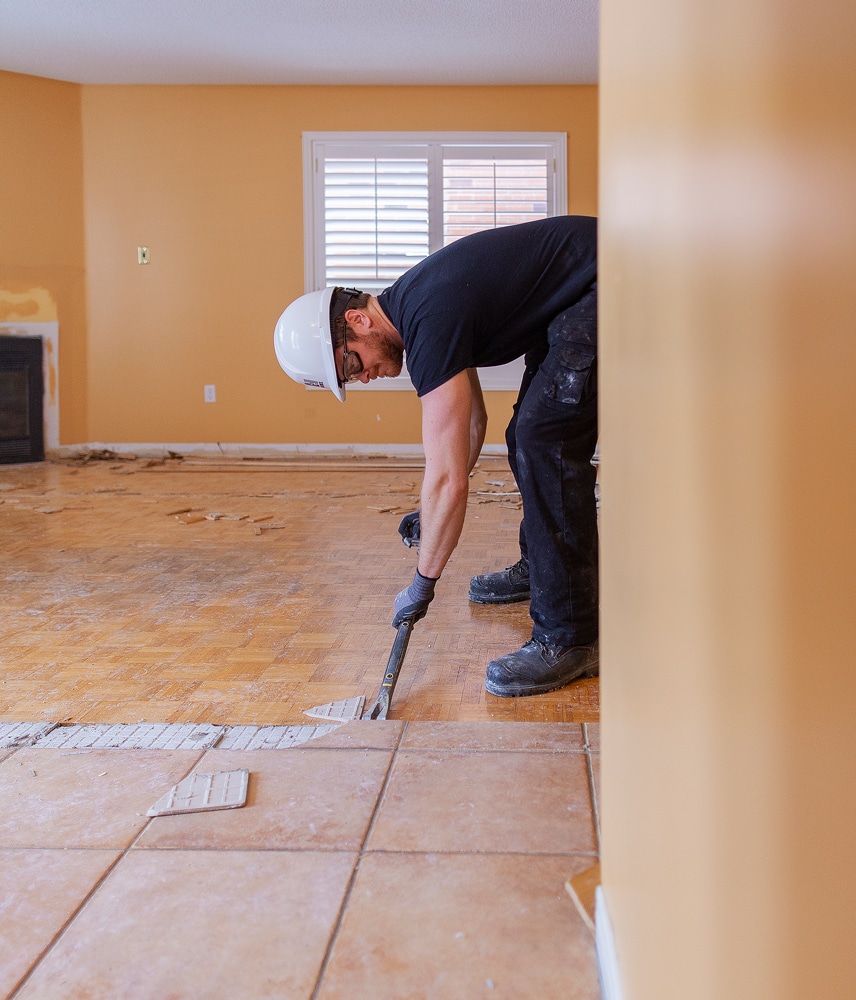
One of the biggest floor installation mistakes I see is laying your new floor overtop of an existing flooring. Often times, the house is laid out that this doesn’t work out. Why? Because you want your flooring transitions to be smooth in between each room, and when you lay new flooring over old, you’ll get a transition between rooms that create a real tripping hazard.
When you’re putting down new floor, this is your opportunity to address any concerns with your subflooring system, as well. So if you’re just placing your new materials over the old, you’re skipping a crucial step in the process.
DID YOU KNOW?
If you suffer from squeaky or creaky flooring, especially, tearing things down to the subfloor level is the best way to address that. You may find that overtime the adhesion of the subfloor has become loose – and you need to hammer in some new nails. Or you could use the big guy’s method, and glue it and screw it.
Keeping Floors Uneven
Another huge mistake I see with flooring is laying material on a floor that has a lot of highs and lows. Rather than spending a ton of time trying to shim your hardwood floor, or build your tile up with mortar (which, most mortars have a certain tolerance that you can’t go past), you should use a self-leveler. Make sure before using a self leveler, that you research how to use it properly. I use Sika Level 125 on all of my jobs. We’ve used it on top of concrete, as well as on top of a subfloor.
If you have done flooring before, you would know that trying to tile or lay hardwood on a surface that is all over the place, is extremely difficult, especially if you’re a perfectionist like me. Do your self a favour, set up a laser level before you install your flooring and check to see the inconsistencies in your floor. If you have a lot, install some Sika Level 125, you can thank me later.
The Sika Level 125 bonds to almost any surface and you can lay vinyl, tile, hardwood and even carpet.
Not Moisture Proofing
One of the most frequent questions I get asked about flooring is whether or not it’s safe to install carpet in a basement. After all, basements are notorious for moisture damage, and a wet carpet can lead to mold growth – not fun.
Here’s the truth: as long as you take proper steps to guard against moisture, you can install any kind of flooring that you like in your basement.
Remember, concrete is porous, so your basement slab will eventually have moisture sneak through. The proper subfloor, like the panelized Amvic system, will allow any moisture that does enter, to harmlessly vent out, without creeping through to your carpet.
I know I am going to sound like my dad when I say this but DO IT RIGHT the first time. If you try to save money on cheap materials, you will be spending money on a redo in the near future. Not only is this a waste of money, but it’s also a waste of material that we don’t need to put into landfills. Don’t be afraid to admit that DIY flooring is outside of your skill set. Hire a professional for peace of mind. Here are some tips on hiring a contractor.
