
What are Premium Cellular PVC Siding Pros, Cons, Cost and Long Term Value? This year, at the International Builders’ Show in Orlando, I saw trends and new products that...
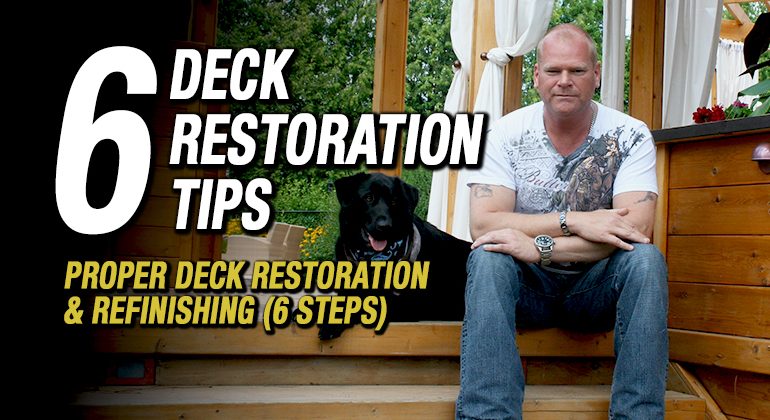
How To Properly Restore Your Deck And Refinish It (6 Steps)
By Mike Holmes
Mike’s Advice / Home Renovation
Saturday, April 20th, 2024 @ 9:00am
Deck Restoration and Deck Refinishing
Maintaining and restoring your deck maintenance is not complicated. Simply put, you need to repair the deck, clean it and protect it. The main steps for refinishing your wood deck are:
- Inspecting and repairing
- Removing stains
- Cleaning
- Sanding
- Staining and sealing
- Enjoying
#1 Check for Rot On Wood Deck
Before you start the process of deck refinishing or restoring a deck, it’s important to do an inspection to check the state of your deck. Where wood meets wood (butted boards) or wood meets concrete are the most common places for hidden rot.
If you haven’t protected your deck in a long time or not at all, take something hard and pointy like a flathead screwdriver and poke around.
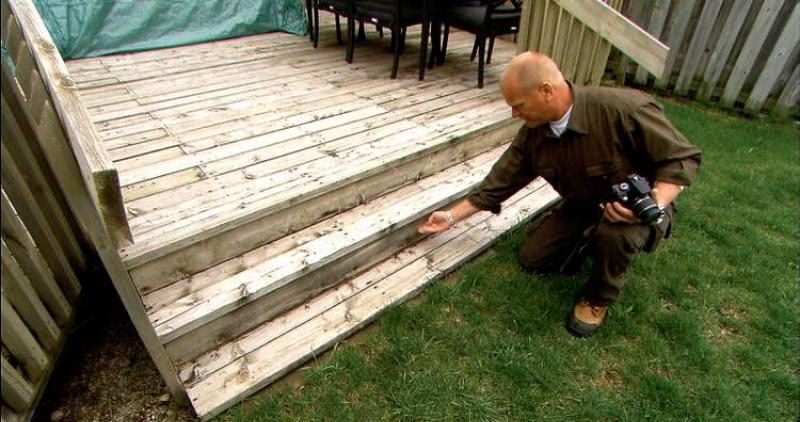
You will probably find soft or even hollow boards that require replacement.
Counter sink nails and tighten screws on the salvageable floorboards. Poke the joists as well to see if they are rotten. Your joists should be pressure-treated wood, at least 2×8 in size and no more than 16” apart with hangers attached to the ledger board if your deck is attached to the house.
Read more about problem areas on decks here.
#2 Are Your Deck Posts Cracking?
Look under the deck to see if the posts are cracked and/or crooked. Are there concrete piers under the posts and if so, have they heaved? There is no sense in refinishing the surface if the substructure is rotten and/or unsafe. Check it for movement and rot. Your rail should have 4×4 (at least) posts every 4-5ft secured to the deck with bolts.
Your balusters must be vertical, secured by 2-2×4 rails and spaced no more than 4” apart. Check the building codes in your area.
RELATED:
#3 Clean Your Deck. Should You Use A Pressure Washer?
A power washer is a removal tool and not a finishing tool. It can also be a weapon in the wrong hands. If you really want to use one, use a wide fan and determine how close the wand should be to the surface by experimenting on an area that is relatively unnoticeable.
Follow the instructions to avoid damaging the wood.
I would recommend just using a soft bristle brush and a garden hose. If you see the wood fibres starting to rise (bur) back off slightly.
#4 Removing Stains On Decks
If your deck has a significant amount of old product on it you may want to apply a stain/paint remover. Just be sure to follow the instructions on the container. You should also wear proper protective gear and protect your cherished gardens.
If the old product is raised and chipped the washer will remove most of it without harsh chemicals.
Some experts recommend using a specialized deck wash. Test the cleanser’s strength in a small area before you start.
Cover nearby plants before you begin
The chemicals in cleaners and sealers can harm your plants. Cover all nearby plants with a tarp or plastic sheet before you start.
Let your deck dry for a couple of days before starting the sanding process.
RELATED:
#5 Do’s and Don’ts of Sanding Your Deck
If you plan to stain the deck, sand the surface before doing so to make the wood better absorb the coating.
On a typical wood deck you will need:
- Four-head random-orbit sander
- Sanding sponge
- 60- or 80-grit sandpaper
- 80- or 100-grit for handrails
- Proper protective equipment (do not forget your respiratory mask, tight-fitting work gloves and goggles.)
Many people use the upright floor sanders that you can rent at your local home improvement store. The problem I have with these machines is that they are made for indoor hardwood floors, they are heavy, 8” wide and perfectly flat.

Your deck boards are not generally 8” wide nor perfectly flat.
If put in correctly (crown up) your floor boards should be slightly convex if not, over time they may become slightly concave (cupped). Neither surface can be sanded with that large machine without taking too much wood off some boards and/or not enough on others.
The palm sander helps to finish the board ends and other areas that can’t be reached by the belt sanders.
Finish Sanding
Finish sanding is meant to create consistency in the porosity of the wood so that stain coverage will be consistent and absorb as much as possible. Use a lighter 60/80 grit for this.
Remember large open pores take a lot of stains and crushed pores take no stain.
Detail Sanding
Detail sanding means that every nook and cranny has been addressed so that we will have a well-protected work of art when completed.
Watch out for this:
- If you leave your belt or paper on too long it will crush the cells and not allow stain.
- If you use the wrong grit on a bare surface it can leave marks or scars that won’t show up until you stain.
- If the finish is inconsistent your translucent stain will go on blotchy.
- If it rains during your project and you can’t protect the surface, your finish sanding is a do-over because the moisture has furled your surface.
- Direct sunlight will cause discoloration so the part you sand today will be a different shade than what you sanded yesterday. This will be a big deal if you want a natural wood grain finish.
Vacuum all surfaces thoroughly after sanding.
RELATED:
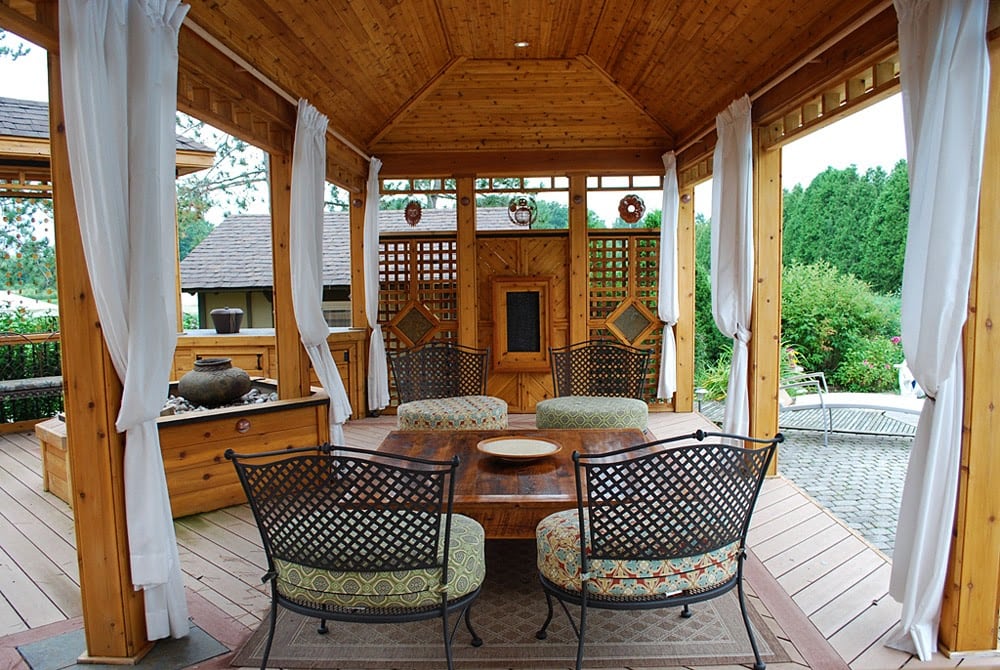
#6 Staining Your Deck
After all that hard work and now that you have a better than a brand new deck or other structure, it is time to decide on how to protect it. A wood stain will help waterproof your deck. It will also provide protection from the elements to keep the lumber from warping.
Is it better to brush or roll stain on a deck?
The best method to apply stain is by brush. This ensures that the stain is applied evenly and has a nice uniform finish. With a brush, you can work the stain into the surface of the wood and control the consistency.
Sprayers don’t give you that luxury and can get very messy with floating stain landing on windows, pools and even automobiles. Rollers will keep you off your knees but can create pooling that will peel.
Nothing says summer like a beautiful deck, a barbecue, outdoor mood lighting and a fire pit, but because many decks are made from wood there is the potential for fire, so proper fire safety must always be practiced. Here are some tips on deck safety.
READ NEXT:
Related Articles

Why Mike Holmes Jr. Chose...
Best Eco-Friendly Shingles: Mike Holmes Jr. on Atlas Roofing Technology When you’re building your...

Mike Holmes on the Most...
Upgrade Your Roofing Knowledge: Mike Holmes on Advanced Shingle Technology You know I’m all about...

A Complete Cottage Opening Checklist...
What Should Be on Your Cottage Opening Checklist for a Successful Opening? If you are...