

What are Premium Cellular PVC Siding Pros, Cons, Cost and Long Term Value? This year, at the International Builders’ Show in Orlando, I saw trends and new products that...

On the Jobsite: Our Wood Dressing Techniques
By
Mike’s Advice / Design & Renovation Inspiration
Thursday, August 2nd, 2018 @ 9:43am
Check for Imperfections
The first step in dressing any rough sawn lumber is to check for imperfections in the wood.
Join the Face
We first run the Face through the Jointer with the bow up. We found this the most efficient way, so you don’t take off too much material. Once you have joined the first face, its time to join an edge now, with the crook (I call it a bow or belly).
You want to make sure you ride the face that you’ve just joined against the fence so you will have a true 90 degree (square) face and edge once you are done joining your edge. Make sure to mark the face and edge that you’ve joined otherwise it can get confusing if you have a lot of material to dress, I usually mark the sides I’ve joined with an “X”.
RELATED
Note While working on the table top, we dressed all of the pieces at the same time to make sure that they are all the same thickness and width. This is very important for finished carpentry.
Run The Material Through The Thickness Planer
Once you’ve joined all of the material you need to for your current step, the next step is to run the material through the thickness planer. You will want to run the opposing face that you’ve joined through the planer (keeping the joined face down). Run each piece through one at a time before adjusting the thickness. Then slowly adjusting the thickness about 1/32”-1/16” at a time each time to take off more material until you’ve planed them down to near perfection. Then once that face is ready, I usually drop the planer down another 1/32”-1/16” at the most and run the face that I’ve already run through the jointer now through the planer to clean it up nice for me.
The Final Step
Once you get all of your material down to the same size then I usually measure the width of all of the pieces and adjust the table saw to about 1/16” smaller then the smallest piece you’ve dressed. Then run them all through the table saw, cutting off the final edge that hasn’t been dressed yet.
If it makes you more comfortable you can run that edge through the joiner after on all of your pieces but you shouldn’t have to if you make sure your table saw is set properly.
If you follow all of these steps properly, you should come out with a completely square piece of wood!
If you are interested in checking out a custom walnut table that I built for an amazing guy, check this out: My Custom Walnut Table.
Related Articles
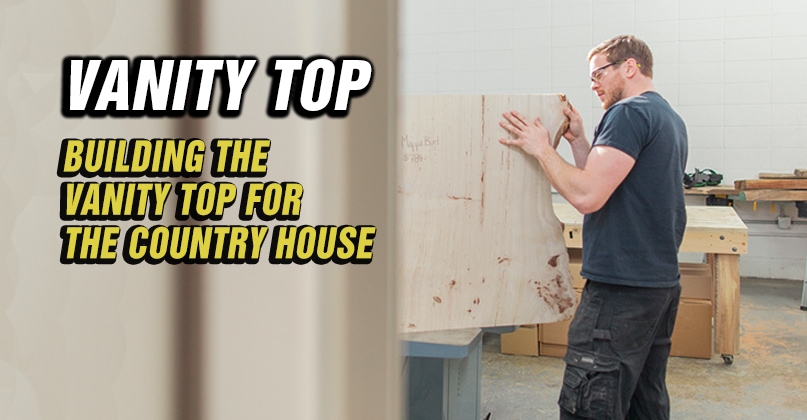
Building The Vanity Top For...
I love doing things differently, and sometimes that can be tough for my dad to...

Building My First Live Edge...
I am a carpenter by trade and have worked on many projects over the years,...

Building It Right: 3-Step Breadboard...
Breadboard ends are the ends that cap dining room tables. Often, you’ll want to hide...