
Roof & Gutter Protection: Your Complete Homeowner FAQ Guide On this new Holmes on Homes podcast episode with Mike Holmes and Leaf Home and Erie Home leaders Jenilee Common...
Building It Right: 3-Step Breadboard Ends For Your Dining Table
By
Mike’s Advice / Design & Renovation Inspiration
Tuesday, August 7th, 2018 @ 9:46am
Breadboard ends are the ends that cap dining room tables. Often, you’ll want to hide the end grain on the pieces of your table, and a breadboard end is a good way to do it! There’s a few different ways to do bread board ends, but this is the one that I like best.
Step 1: Measure & First Cuts
When we rough cut our breadboard ends, we leave them a little wider and longer than the actual size. The saying is measure twice, cut once – well, this is just in case we made any mistakes. It’s always easier to cut more material than to add material on. I’m still looking for a working wood stretcher… Once we have our breadboard end cut to a rough size we line it up with the table and cut the width.
**Tip** In school, they taught us to stick to the rule of 1/3rd when it comes to joinery. Never take away more than 1/3rd of the material with a joint, because it weakens the actual joint.
We divide the table thickness into 3, which leaves us with roughly 5/8. Set up a plunge router and a straight edge to take off 5/8” of material on both ends of the table, bottom and top.
One of my favourite tricks is to measure from the outside of the base of the router, to the outside of the router bit blade. In this case it gave me 2 5/8”. I wanted my tenon to be a minimum of 3”, so I took my straight edge and set it up 5 5/8” from the edge of the table and started taking off the material on either side, top and bottom.
In the end, I was left with a 5/8”x3”x36” tenon at the end of each side, sitting perfectly in the middle of my table depth, making it easier to mortise out the breadboard end.
Step 2: Cutting Dado Joints & Mortices
Set up the dado blades on the table saw to dado out 5/8” of material of our breadboard end. Because our breadboard ends are 40” long and we need a 36” long mortise, 3” deep along the centre of the breadboard end, it’s easier to use the table saw with a dado blade then a morticing machine.
We set the dado blade so that it’s perfectly centered, then mark the areas on the table saw where we need to start and stop our piece. We can’t run it straight through the table saw because we want our mortise to be hidden, so the only way to accomplish this is to slowly plunge the dado blade in the breadboard end from underneath. We slowly dado out the material for our mortise, and then clean up the corners with the mortising machine.
**Tip** Leave a little bit of room all around for expansion and contraction. We left 3/8” wider on either side of our mortise bigger than our tenon.
Step 3: Sanding and Final Touches
Now we sand down the tenon so that it slides in more easily without bowing the breadboard end out. We mark out where we would insert our 3 square Purple Heart Wood dowels on either side to secure the breadboard ends.
Using the mortising machine we carefully mortise out the dowel areas. On the two outside dowels we double the width, allowing for the table and breadboard end to expand and contract properly. The centre hole for the dowel is made exact to hold it in its proper place.
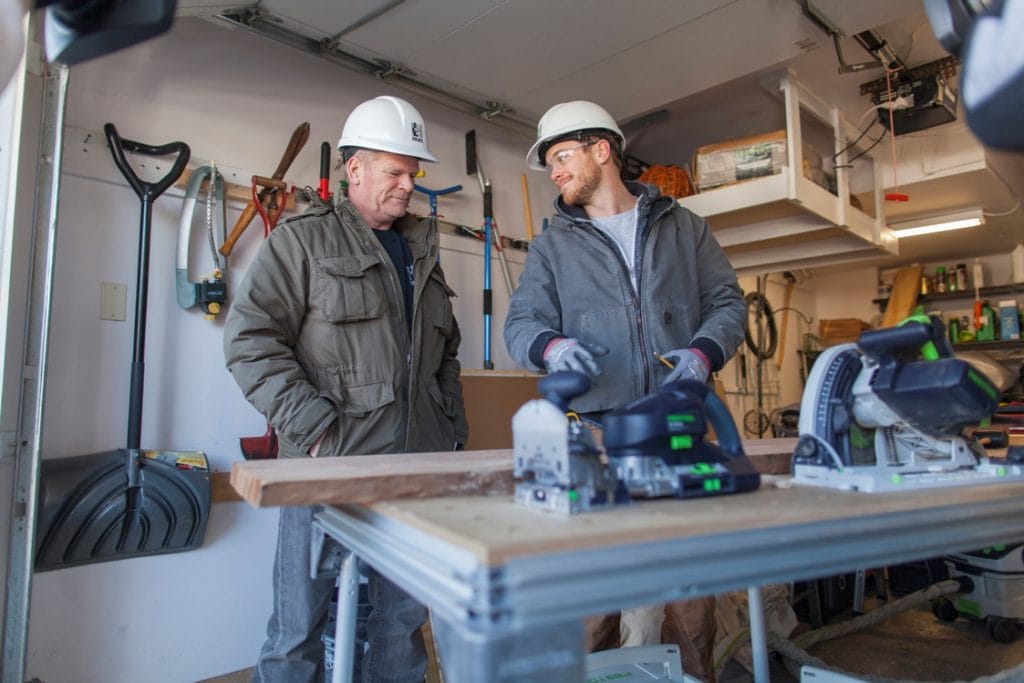
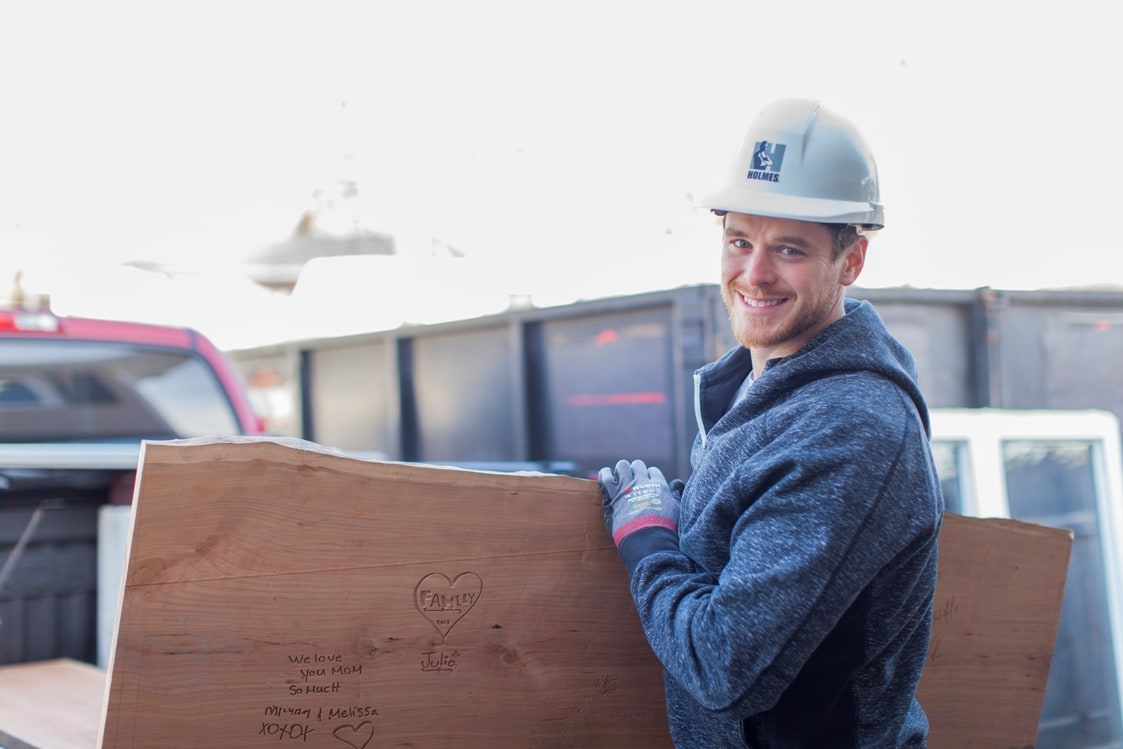
“My dad always likes to supervise.”
**Tip** Here’s a technique using the dowels to help us pull the breadboard ends to the table more tightly. On the breadboard ends where we mortise out our square dowels, we transfer the marks onto our tenon on the table but drill it out 1/32” closer to the table. This means that when we hammer the dowels in with our wooden mallet, the breadboard ends will be pulled into the table.
Once our holes are set, we glue our dowels, starting with the centre dowel and insert them one at a time working our way to the outside. Make sure to let the glue dry before cutting the dowels flush with a Japanese flush cut saw.
**Tip** Whenever drilling out material you need to be careful to avoid blowing out the wood on the other side. If you’re using a mortising bit, you need to do both sides separately of one piece. Don’t try and save time by going straight through because you will most likely end up blowing the material out and having to start over.
Related Articles
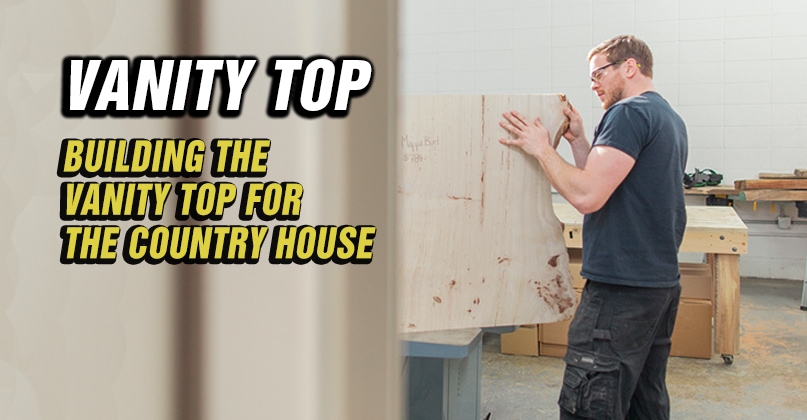
Building The Vanity Top For...
I love doing things differently, and sometimes that can be tough for my dad to...
Building My First Live Edge...
I am a carpenter by trade and have worked on many projects over the years,...

On the Jobsite: Our Wood...
Check for Imperfections The first step in dressing any rough sawn lumber is to check...