
Roof & Gutter Protection: Your Complete Homeowner FAQ Guide On this new Holmes on Homes podcast episode with Mike Holmes and Leaf Home and Erie Home leaders Jenilee Common...
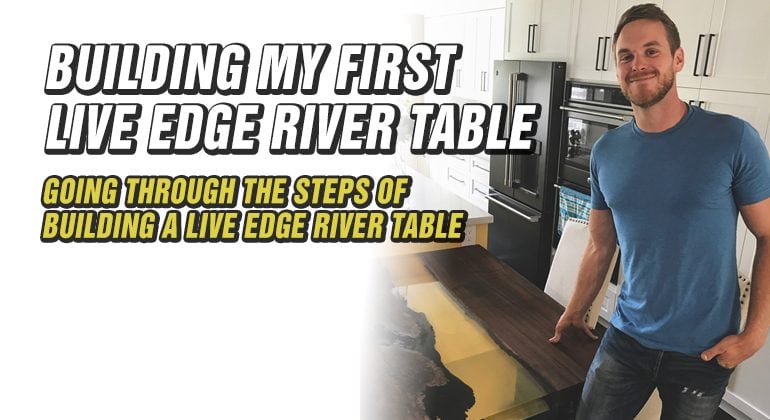
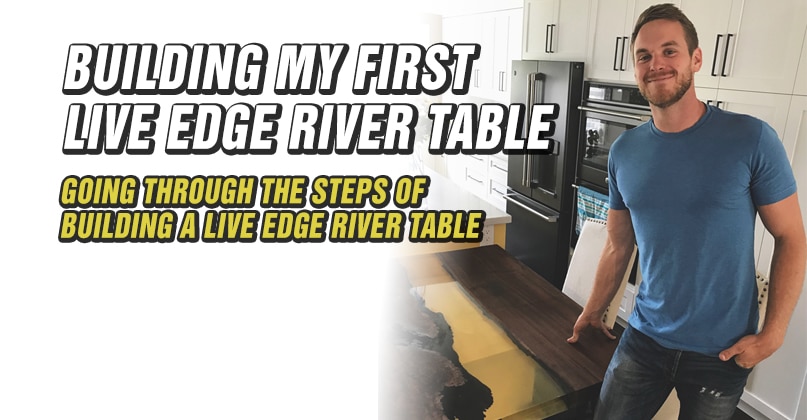
Building My First Live Edge River Table
By
Mike’s Advice / Mike Jr
Tuesday, December 11th, 2018 @ 9:42am
I am a carpenter by trade and have worked on many projects over the years, but Holmes and Holmes Season 2 was my first time building a Live Edge River Table. I had only seen them online and a few in person. I have always loved the look of them, but never had the chance to make my own. As soon as we started incorporating river elements into our Suburban House, I knew this was the perfect opportunity to build that table.
What is a Live Edge River Table?
The river table places pieces of live edge wood on the outside of the table. Often when you see a live edge table, the natural edge of the wood is faced to the outside of the table, but with a river table, you turn the live edge inward, so that it mimics the contours of a river. Between the two pieces, you fill the river in with an epoxy resin, or glass top. My version incorporated epoxy, because of where it was situated in the Suburban House.
Picking the Live Edge Wood
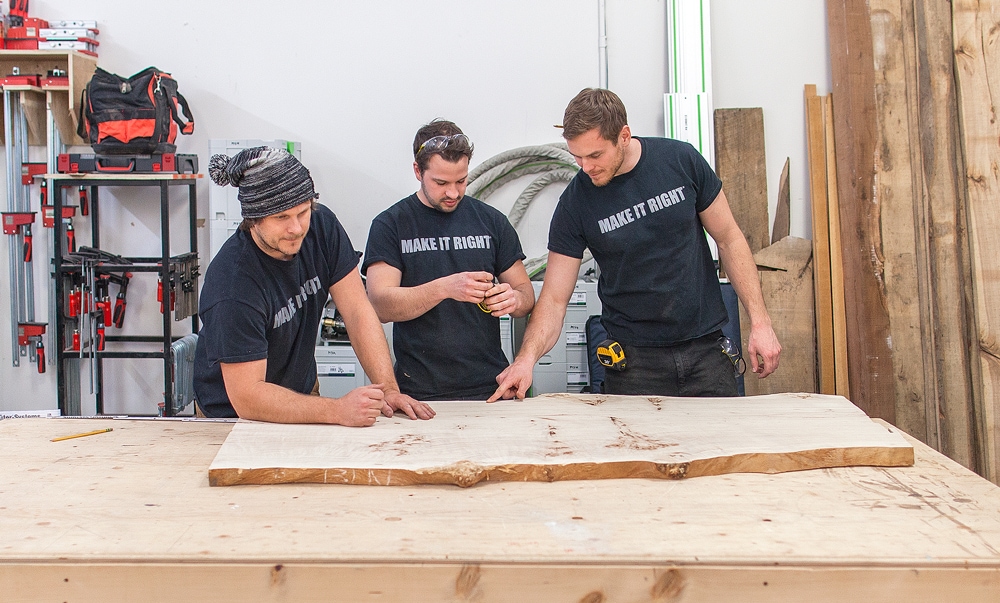
After discussing the size and design of the table with our kitchen designer, Andi, it all started with a trip to Exotic Woods. I had a rough idea of the look that I was going for, and while I had my mind set on Walnut for the River Table, I knew the right piece would call to me, no matter what kind of wood it was.
As I walked through the store I found a beautiful piece of claro walnut. Its grain was so beautiful, and the live edge was so unique that I knew this was the right piece of wood for my river table. There was so much character in the slab. When speaking with Mel, the owner, he informed me that there were still the remnants of a bullet in this piece of wood, that he assumed was from a hunter, or target practice, which I
thought would be cool to incorporate into the river table.
The Main Steps
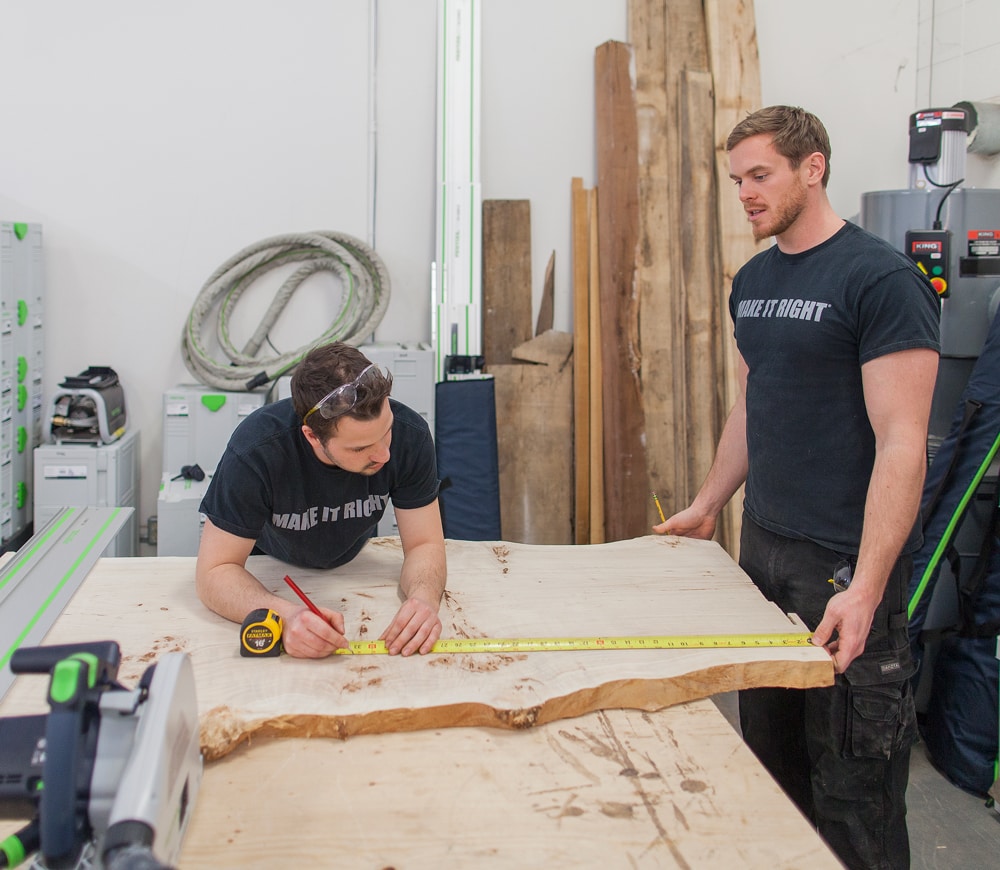
- Acclimatizing the Wood
I took the wood back to my shop and let it acclimatize for a few days before starting to work on it. Once it had acclimatized, Derek and I went to work on it by building a form for it out of MDF (Medium-density fiberboard) and then covering the entire form with Tuck Tape to make sure that the epoxy wouldn’t stick to the MDF.
- Choosing the Live Edge Parts
We wanted to make sure we would be able to peel the table out once the epoxy dried. Once the form was built, Derek and I cut the slab to size with my track saw, choosing the parts of the live edge that we wanted very carefully. Once we cut the piece of claro walnut, we fit the wood into the form and it fit like a glove.
- The Epoxy Pour
We wiped down the form so that we were (virtually) dust-free for our epoxy pour. Once we poured it, we needed to let it set for 24 hours. Because the epoxy we used was a thick pour up to 1”, we needed to do three pours before it was finished. Every time we did a new pour, we took a torch to the epoxy to get rid of any air bubbles as best we could.
- Sanding and Striping
Once the layers of the epoxy were dry, we took it out of the form to start sanding. There was a TON of sanding to do on this table. Starting with a 60 grit sandpaper for heavy sanding and striping, working our way up to 4000 grit sandpaper for the epoxy section of the table to make sure it was nice and clear. My wife, Lisa introduced me to a Fusion Mineral Paint line which we used to seal the wood and give it a nice, finished look.
The Finished Product
I had a lot of fun building this live edge river table, but I also learned a TON from my mistakes, as I do with each one of my projects. Next time I build a River Table, I could probably do it more efficiently by saving time on pours and sanding. Overall I was extremely pleased with the results. I’ve been doing renovations and construction for a long time, but what excites me the most is when I get to do these custom projects.
My Next Live Edge River Table
For Christmas 2018, my wife Lisa and I decided to build my dad his very own custom Live Edge River Table. My dad loves the water, so we knew this would be the perfect present. We mixed blue pigment and epoxy to create a beautiful river and used black pigment for the night sky. My dad and I are both Leos, and I wanted to this river table to have an extra special touch. With the help of new technology, I created an exact replica of my dad’s astrological sign in the night sky. I filled the stars with gold epoxy. His reaction was great. He was impressed!
Related Articles
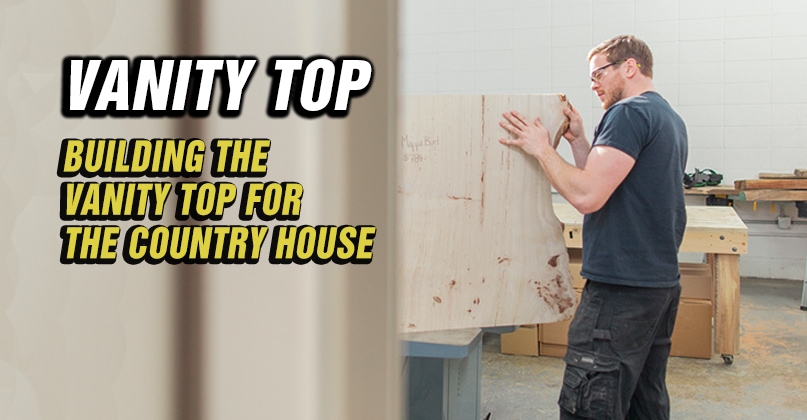
Building The Vanity Top For...
I love doing things differently, and sometimes that can be tough for my dad to...

Building It Right: 3-Step Breadboard...
Breadboard ends are the ends that cap dining room tables. Often, you’ll want to hide...
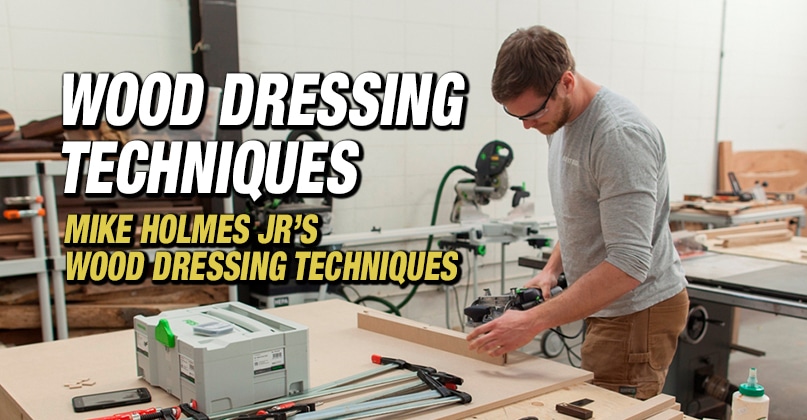
On the Jobsite: Our Wood...
Check for Imperfections The first step in dressing any rough sawn lumber is to check...