
What are Premium Cellular PVC Siding Pros, Cons, Cost and Long Term Value? This year, at the International Builders’ Show in Orlando, I saw trends and new products that...
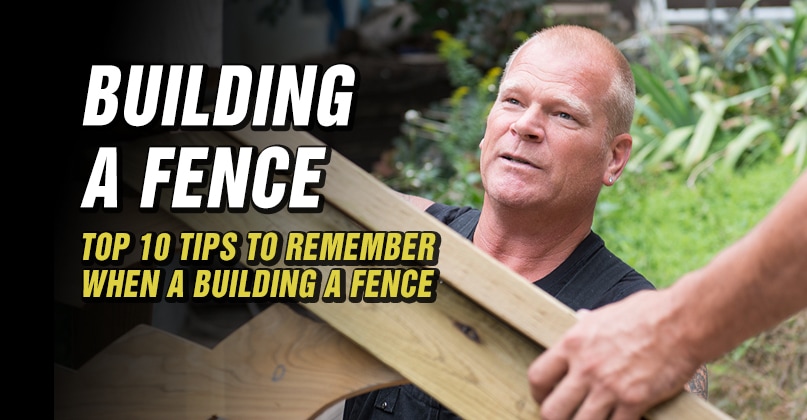
Top 10 Tips To Remember When Building A Fence
By Mike Holmes
Mike’s Advice / Outdoor Renovations
Thursday, July 7th, 2022 @ 10:45am
How To Build A Fence
When it comes to building a fence I would recommend calling in a professional. If you do decide to DIY (do it yourself) or have fence repairs to tackle, make sure you do your homework and ask questions before you start any project. Whether you do it yourself or hire a pro here are some important tips that will help your fence stand the test of time.
Tips For Building a New Fence
Do I Need A Permit To Build A Fence?
Will you need a permit to build a fence? Probably not, but it’s a good rule of thumb to always check with your local municipality for up to date building codes. Also, check your survey and make sure there are no issues or easements with your fence. I once heard about a homeowner that was ready to sell their home only find out that their fence was encroaching on the neighbours property. It should have been highlighted when the property was originally bought but it was never disclosed. The neighbours wouldn’t settle and the homeowner had to remove part of the fence and mark out the property line with paving stones.
Pay Attention To Property Lines
Make sure you know where your property lines are before you a start fence installation or repair. There also might be bylaws on the fence height and appearance.
I’m sure you’ve seen fences that are back to back. This probably means that at some point the two neighbours weren’t willing to be very neighbourly and built two fence walls back to back, each on their own property. Hopefully, with your new fence, you can share the one fence line and the costs. If you do, it might also be a good idea to have some sort of written agreement in place before any construction starts.
Call Before You Dig
Remember to call before you dig so all your underground utility lines are clearly marked. Do your homework.
Replacing an Existing Fence
If you are replacing an existing fence or doing major repairs, make sure it was installed in the correct spot in the first place.
Finding out now will save you a lot of headaches when its time to sell your home, as noted above.
When it comes to replacing fences or any existing outdoor projects, keep in mind the do’s and don’ts of before you get started on your projects.
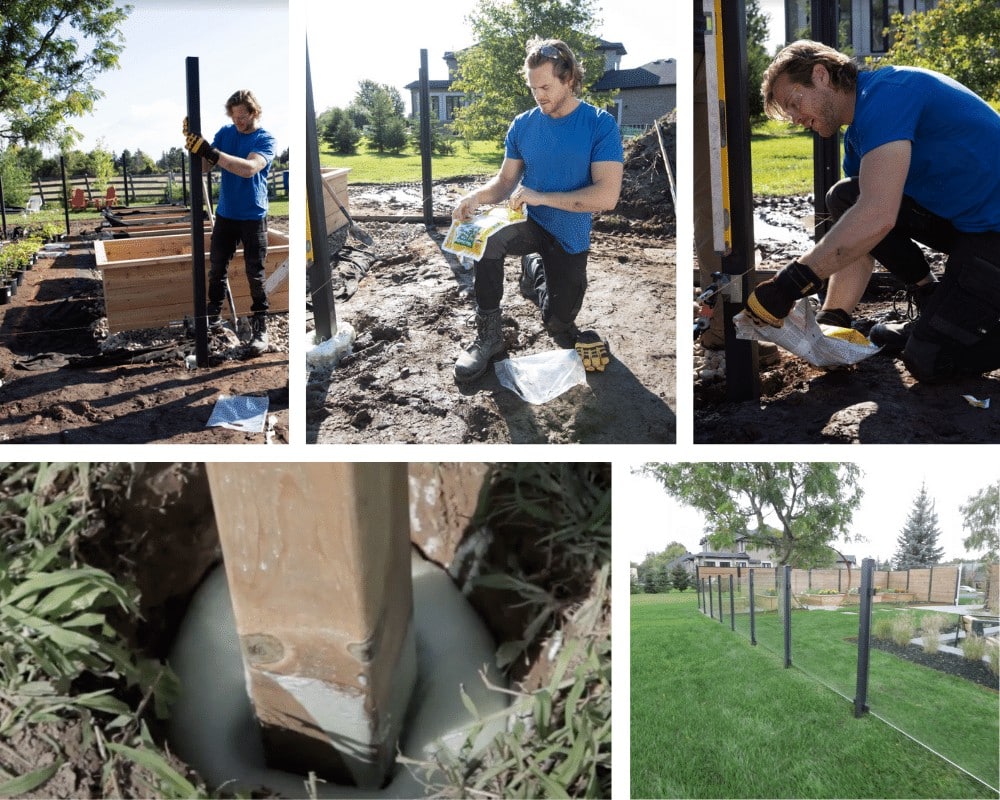
How-To Install a Fence Post
What is the best way to put fence posts in the ground?
Fixing or installing a fence post with concrete is time consuming and labor intensive. I prefer an expanding foam, which replaces two bags of concrete. It’s an easy-to-prepare, mix-in-the-bag and fast setting polyurethane foam.
Expanding Foam Fence Post Mix
This is a two component, mix-in-the-bag expanding foam that I’ve been using on my projects. Here is how it works:
- Roll the pouch, starting at the compartment containing Component A, working towards the ‘burst seal’ in the direction of the arrows shown on the back label.
- Apply pressure to the rolled section to rupture the seal and allow Component A to flow into the compartment containing Component B.
- Mix thoroughly by then rolling out the pouch and rubbing the bag along a table edge or any 90 degree surface (no sharp edges).
- Mix for 15 seconds only by forcing the material to travel inside the bag, from one end to the other (using a “shoe shining” technique)
- Cut the bag open with scissors at the corner
- Pour mixed material into the hole. Empty the bag into the hole, pouring some of the material on to the post itself
Basic Fence Building Checklist
10) Fence Layout
Make sure your fence layout is clearly marked with stakes and line (and checked against a recent survey to make sure you are within your property line). It’s a good idea to mark your fence approximately 6” from within your property line to accommodate the post and fence structure, less space is required if you are doing a chain link or metal fence.
9) Check for elevated ground or slopes
Remember to address any slopes or elevated ground that may affect your fence layout and installation. For minor sloping, you can use a racked fence, which means the rail (the horizontal bar between fence posts) remains parallel to the ground in all panels. For steeper slopes use a stepped fence format, which looks exactly like it sounds, your fence will look like steps. Take care when doing a stepped fence, as you will have to individually cut your panels to follow the slope.
8) Decide on Fence Material
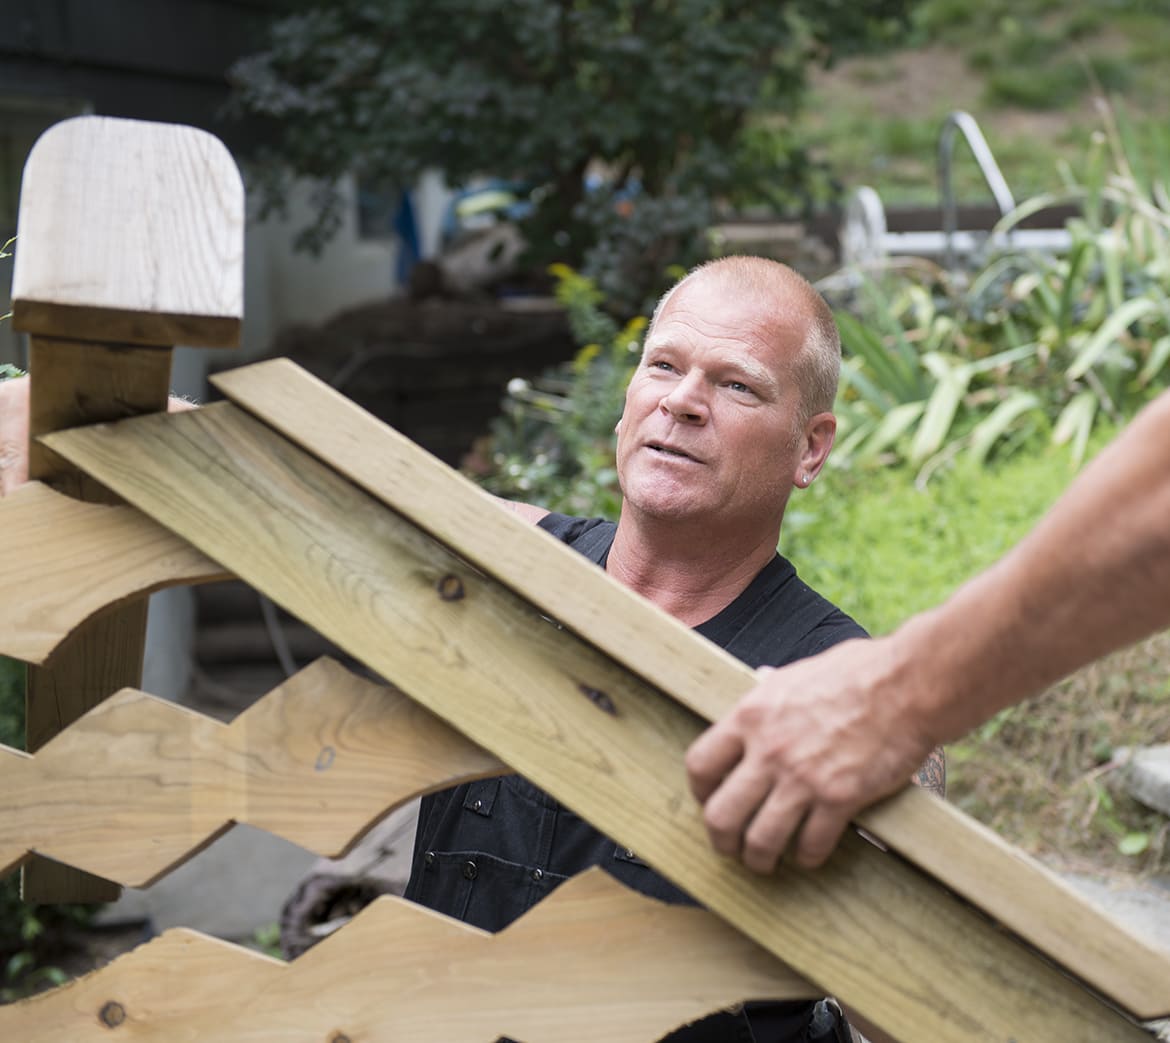
Wood fences are the most common as they tend to be the most economical and there are several choices available from pressure treated (most cost efficient) to cedar or redwood (more costly) to name a few, but all of them require regular maintenance. Composite and vinyl fences may be more costly upfront but will require less maintenance than natural materials.

Photo featuring Slip Fence on Holmes Family Rescue
7) 6″ x 6″ Fence posts
For proper and secure post-installation use 6” x 6” posts for your wooden fence, not 4” x 4” and remember to properly brace your posts while they are setting. This will ensure your fence and gate are strong.
6) Fence Hinges
Whether you choose to use strap hinges or butt hinges, use 3 sets of hinges instead of 2, as the additional hinge will provide more support to the gate.
5) Proper Hardware for Fence Building
Use galvanized or stainless steel screws and nails as they are resistant to rust and corrosion.
4) Frost Line For Fence Posts
Make sure your fence posts are installed at least 36” deep into the ground, but I would highly suggest 48” deep. Again, the more secure your fence the longer it will last. As a general rule, posts should be at least 6” below the frost line.
3) Expanding Foam for Building a Fence
Make sure your posts are secure and properly installed fill the holes with mixed concrete (mixed in a bucket and not mixed in the hole!) or expanding foam. Personally, I am a HUGE fan of expanding foam. It will save you so much time!

2) Add Gravel
To prevent water from affecting your fence posts and causing frost heave, add gravel to the bottom of your hole for extra drainage
1) Level Your Fence
This may seem obvious but make sure your fence posts are plum and your fence is level along the top and in a straight line!

RELATED: How To Build the Best Outdoor Kitchen
Types of Materials For Fences
WOOD Fences
Wood is the most common and probably the most economical fence material, especially if you use pressure treated wood.
Maintaining a Wood Fence Tips
- Painting or staining will help preserve the wood (PT or pine) and should be done every 2 or 3 years.
- Wood fences should be washed off at least twice a year.
- If using a power sprayer, make sure you use the lowest setting as it can damage the wood.
- Cedar and Redwood are resistant to rot and insects and can be left untreated but will fade and lose their natural colour. However, applying a preservative, like a oil or tinted stain every few years will help maintain the original look.
Wood fences lasts a long time and is completely recyclable but does require regular maintenance.
-
COMPOSITE Fences
Composite fencing is made of recycled fibres, plastics and adhesives that can mimic natural wood. It’s available in a limited amount of colours and styles. It’s easy to maintain, as it doesn’t require staining or painting. Composite is durable, though over time may fade, scratch and stain. Composite is about twice as expensive as wood.
-
VINYL Fences
Like composite, vinyl is available in many colours, styles and textures, though it can still look plastic. It doesn’t need to be painted or stained and is long lasting, as it won’t warp, splinter, blister or rot.
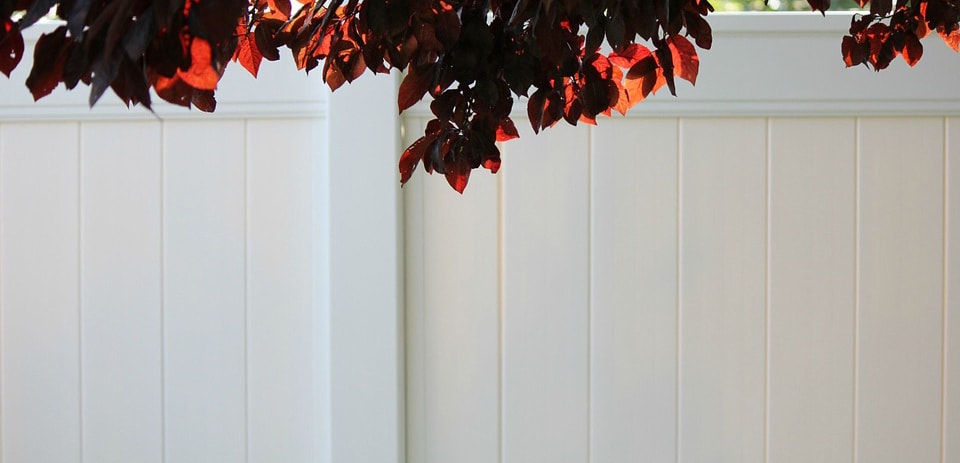
It’s easy to clean but costs more than wood and is harder to install. However, due to the components of vinyl, it is not easily recyclable.
-
METAL Fences
Metal fences are coated galvanized steel or aluminum. They are easy to clean with minimal maintenance and are recyclable. If rust appears, it can be removed and treated with a rust primer and paint.
Metal fences are strong and durable and come in a variety of styles. Metal may cost more than wood but is still inexpensive.
-
CHAIN LINK Fences
Chain link fences are strong, durable and economical (comparable to wood) but tend to be a bit industrial looking, however, they are ideal when fencing a large wooded area.
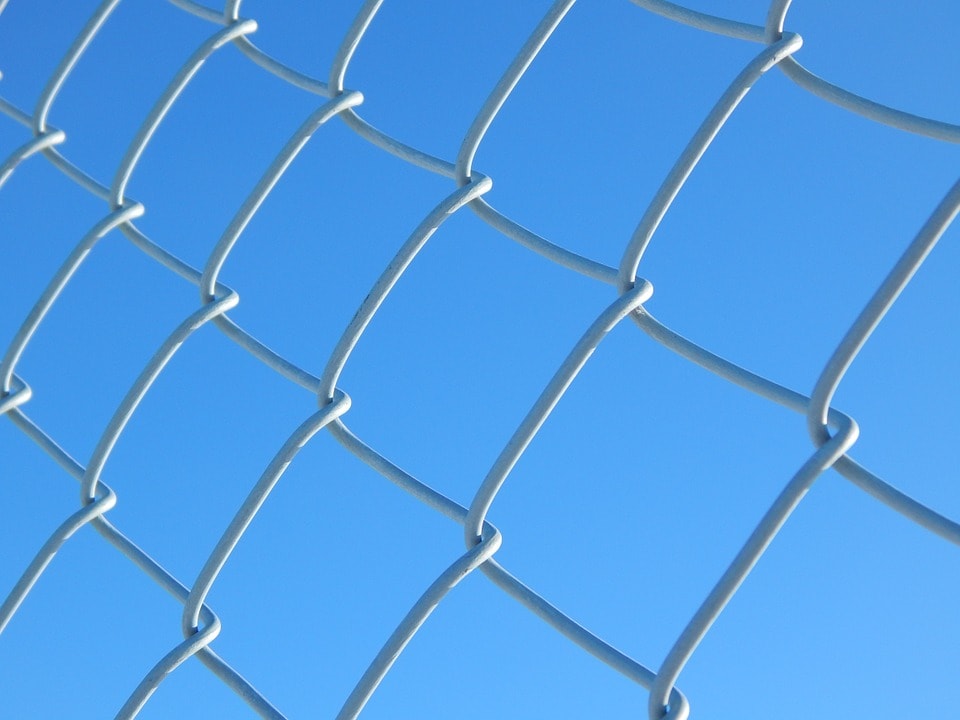
Chain links are easy to clean and come in 4 basic colours, white, brown, black or green.
Take advantage of the warm weather when it comes to building a fence and learn more about other summer maintenance tips that might be on your checklist.
Related Articles

Why Mike Holmes Jr. Chose...
Best Eco-Friendly Shingles: Mike Holmes Jr. on Atlas Roofing Technology When you’re building your...

Mike Holmes on the Most...
Upgrade Your Roofing Knowledge: Mike Holmes on Advanced Shingle Technology You know I’m all about...
A Complete Cottage Opening Checklist...
What Should Be on Your Cottage Opening Checklist for a Successful Opening? If you are...