HOW TO STAY ORGANIZED IN A SHOWER Keeping your bathroom organized can be a challenge, but with the right strategies and storage solutions, you can transform your shower area into...
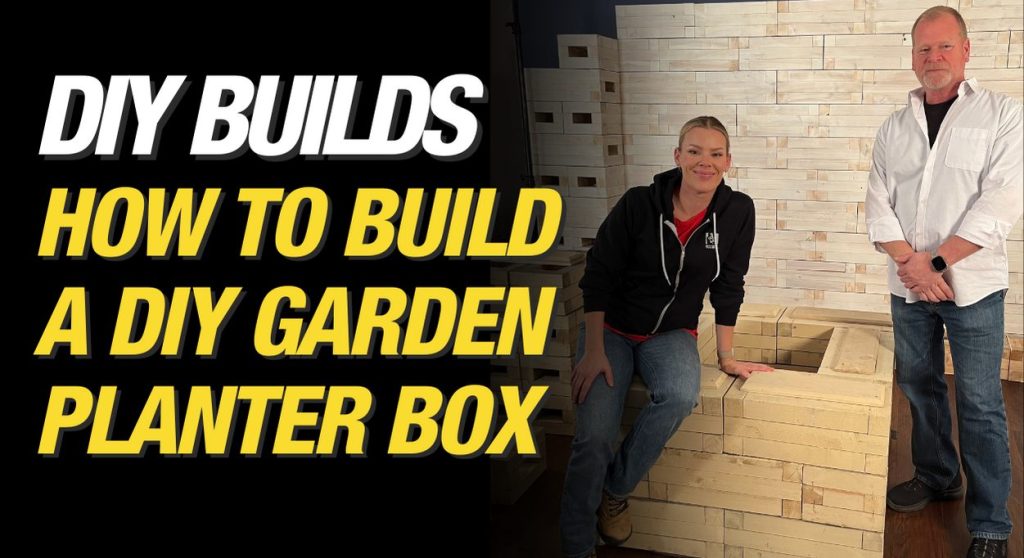
How to Build a DIY Garden Planter Box
By Sherry Holmes
Mike’s Advice / Design & Renovation Inspiration
Wednesday, February 7th, 2024 @ 2:43pm
Tips to Build Your Own Planter Box
If you live in Toronto, I am sure you must have come across some awesome structures built with wooden blocks called EZblocks (formerly GripBlock). I’ve been to outdoor markets, skating rinks and restaurant patios in Toronto where I’ve seen some amazing uses for EZblocks. I was so curious about these blocks that I ordered some to play around with.

EZblocks are just like children’s building blocks. They offer fast, strong, easy-to-assemble building solutions which makes them great for a wide range of applications like patios, markets, benches, mazes and ice rinks, sheds, and more.
After understanding how these blocks work, I came up with a project idea: DIY garden planter boxes. EZblocks are literally like the building blocks my kids play with. You can build anything you want today, and change it up tomorrow. This is the best way to build a planter box or a raised planter box for your backyard.
Why EZblocks for your planter box
Advantages of using EZblocks for your planter box DIY project:
- No hassle of cutting wood pieces
- You don’t need power tools or screws
- Your EZblocks planter box will stand up to outdoor conditions without any extra steps from you
- You can paint it, stain it easily
- You can customize your planter box easily, so it can be exactly what you want
- If you move, or change your landscaping, you can easily take this apart and build a new structure. You can even use this to build your own DIY yard games or patio furniture!
- The metal velcro-like technology on the EZblocks means a secure, solid structure
- The planter box can be as small or as big as you want. The size and shape are totally up to you!
Materials To Build a DIY Planter Box
Building a DIY planter box or a raised garden bed with EZblocks is easy. You don’t need to cut any wood pieces, and you don’t need any power tools. This is super simple!

Similar to CLT and concrete, EZblocks is a single block that can be placed precisely like a children’s building brick. And the great thing is they come in different sizes too.
Here are some things that are important to consider before you start your build:
- Figure out the size of the planter box
- Make a rough drawing of the DIY planter box so you can visualize it
- Buy a fine mesh screen or landscape fabric. This will be used to line the bottom of your planter box.
- Select your lumber. In this case, we are using EZblocks, which means you don’t need to worry about your materials lasting under outdoor conditions.
- Determine how many blocks you’ll need to complete your build
Sherry’s Tip: Order a few extra blocks from EZblocks and build your own garden wall!
RELATED:
Assembling Your Planter Box
Building a planter box is an awesome way to add colour and greenery around your deck, patio or garden. With EZblocks, you can do this DIY project in a weekend. And what I love about these blocks is that they’re made out of recycled wood with no glues or fasteners. So they’re better for the environment too!

Step-By-Step Installation Guide
Your DIY planter box or raised garden bed needs to be sturdy enough to hold plants and moist soil. It’s important that the blocks are properly secured. The good thing is that with EZblocks, the metal velcro takes care of that. No need to drill holes or measure precisely.
Here’s how to build the planter box:
- First, make sure you have a flat, level surface for building your structure
- Line your EZblocks up to build the first row
- Add one piece of rebar into the center of your first row
- Place the next layer of blocks on top, but make sure it’s offset from the layer below —pretend you’re laying down bricks. You can use a rubber mallet to make sure the blocks are secure in place
- Keep adding layers remembering to offset it from the layer below until you get the desired height
- Add two pieces of rebar into the center of your top row of EZblocks
- Insert your threaded hooks into your EZblocks from the top, hook to the bottom piece of rebar
- Attach a clamping bracket and a nut to the top of your threaded hook and tighten it down
- Place top caps over all the block openings and secure them using screws
- Close all end openings with end plugs. Use a rubber mallet to tap them into place
That’s it. Now you can paint it, stain it, or leave it plain and functional —the only limit is your imagination.
Sherry’s Tip: Add some landscaping lights and spot lights to highlight your planter box and set a nice ambiance in your backyard!

Here’s an illustration of how to build the flower planter using EZblocks. You can download a PDF with the full assembly instructions here.
Contact the EZblocks team for your next project and show us what you would build!
Building Restaurant Patios and Event Spaces
If you are a business owner in the Greater Toronto Area, check out these cool ideas for your space! You can build patio furniture, temporary structures like mazes for kids, yard games and outdoor booths with EZblocks. These are a great idea for event spaces!
The EZblocks team also provides white glove service. Their team is fantastic and can take care of ordering, design, assembly and take down. They have professional planners and installers that make your EZblocks project seamless. The best part is, you can simply rent the blocks.
READ MORE
The Best Outdoor Entertainment Area Design Ideas For You
Outdoor Lighting Guide: Best Exterior Lighting Tips For Your Home
How To Build An Outdoor Kitchen: Tips From Design To Maintenance
Related Articles

3 Things DIY TV Doesn’t...
Magazines and television shows inspire people to renovate. Home-improvement stores are full of great products,...
A Home Inspection Fail Story
Home Inspection Nightmares I started my own home inspection company (Mike Holmes Inspections) because I...
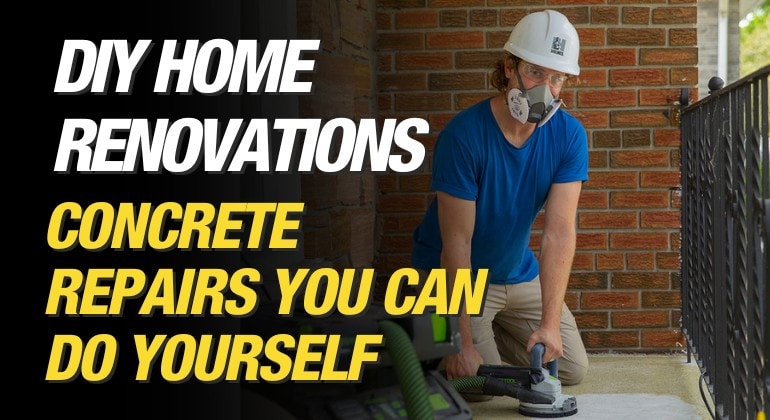
DIY Concrete Repairs You Can...
Thinking of DIY Concrete Repairs? Here's What You Need to Know If you've watched my...