
Roof & Gutter Protection: Your Complete Homeowner FAQ Guide On this new Holmes on Homes podcast episode with Mike Holmes and Leaf Home and Erie Home leaders Jenilee Common...
Building Raised Stone Garden Beds
By
Mike’s Advice / Lifestyle
Friday, August 7th, 2020 @ 10:28am
Building raised stone garden beds requires a lot of planning, prep work, and labour. After my wife Lisa Marie and I agreed that we wanted both an in-ground garden as well as a raised garden bed, our first task was to put pen to paper to create an initial design of what the vegetable garden would look like.
Before you start building your raised garden beds, keep in mind that it helps to establish where your garden is going to be located on your property. Once you have determined a location, stake the perimeter area with wooden stakes and string.
Ordering The Building Materials
It is very important when ordering any building material that you account for mistakes, cuts, and future potential projects. Ordering extra material is always wise.
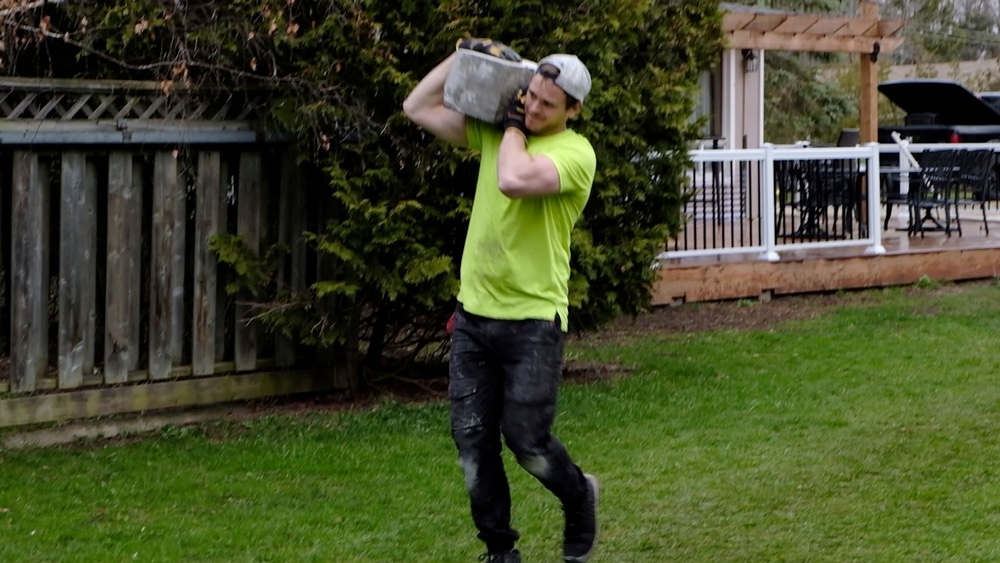
Particularly when ordering materials like stone, the shipping costs can add up because of the considerable weight of the material itself. Our stone was transported to us via forklift so we played it safe and ordered extra so we only paid a one time shipping fee.
The last thing you want to do is run short on material and have to pay a second delivery charge for the same product that you didn’t order enough of.
When calculating how much you need for a raised garden bed, you need to know the length, width and height of each garden bed that you are going to build.
TIP:
When you’ve calculated your stone, add 10% to your order to account for mistakes and cuts.
You’ll also need to order your base material to stack your stone on. You are going to want something easily compactable like screening or sand. I went with screening for our project. 5 yards of screening and our garden area is 20′ x 30′
Building Your Raised Stone Garden Beds
Building the base and the first course is very tedious and time consuming. Lisa Marie and I chose an area where the soil was undisturbed (so the soil has already settled and will remain a strong base to prevent settling of your beds unevenly) and then added our screening.
Make sure to spread enough screening to cover the whole base, then use a long level to screen the screening, so it is level on both the length and the width of your raised garden beds.
Once you have leveled the base, I highly recommend renting a plate tamper and tamping the screening area that you’ve put down to make sure it is compacted before you start laying your heavy stone on top.
TIP:
It is integral to a quality garden bed that the first row of stones are level and even to support the remaining layers.
Once your first course of stone is laid down, make sure that you stagger the next layer of stone on top of the first row so that the weight is distributed evenly on either side of the joints.
Continue building your beds all the way up to your desired height and finish it with a cap or nicely cut stone top. Or you could forgo capping to give the garden bed a nice raw and rugged look.. However, I did use a handheld gas saw with a diamond blade to cut square/clean joints only for the top course so they lined up evenly.
We built a 30” high raised garden bed so that we don’t have to bend down much when we are doing our gardening. I think we’ll thank ourselves when we get older.
Before gluing your top course make sure to wrap the inside of your garden beds with landscape fabric and tuck it under the top course of stone so it will help contain the soil and hide the landscape fabric.
TIP:
Lisa Marie taught me this one – For extra defence against weeds and grass in your raised garden beds, lay down cardboard as your base at the bottom of your bed before putting landscape fabric down.
Watch the video below to see us get our hands dirty making this garden bed.
Soil and Drainage
Depending on the height of your raised garden beds and what you are planting in them, it is important to put stone in the bottom of the raised garden beds to help with drainage.
Lisa Marie and I ordered ¾” clear ( ¾” gravel without screening) and filled the bottom 12”-14” of the beds with this stone to help with drainage for our vegetables and herbs.
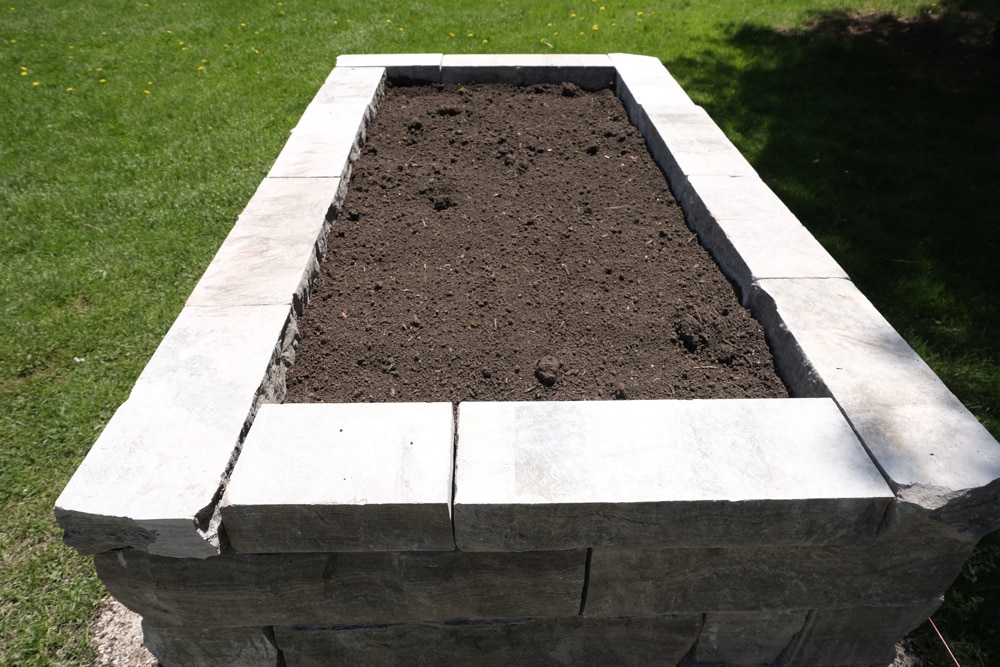
We filled the remainder of our raised garden beds (about 16”- 18”) with triple mix soil (soil, peat moss, compost) which is a great soil for a variety of vegetables and herbs.
Tools used:
- Level
- Gravel Rake
- Screening Rake
- Shovel
- Wheelbarrow
- Handheld gas saw with diamond blade (also known as a quick cut)
- Rubber mallet
- Plate tamper
Materials Used:
- String
- Wooden stakes
- 26,000 Lbs of Eramosa Stone
- 8 yards of triple mix
- 4 yards of ¾” clear (gravel for drainage)
- 5 yards of screening
Once the beds were built, I turned to Lisa Marie (the green thumb in the family) to take over and plant all of the herbs and vegetables. Follow our series “Holmes @ Home: Gardening Addition” for more tips on building and gardening!
Related Articles

10 Contracting Business Mistakes to...
Running a contracting business isn’t easy. I’ve been there. You wear many hats—sales, project manager,...

The Beginning of Holmes on...
The Start of my TV Career I never wanted to be on TV, I am...

Helping Build a Lasting Legacy...
How Can EZblocks Help Create Flexible, Community-Driven Memorial Spaces? When you’re creating a space that...