I love exploring new technology—especially when it genuinely improves how we work in construction—and I recently came across one that truly impressed me, iGUIDE by Planitar Inc. In my...

Building Our Garden Bed: Holmes At Home
By
Mike’s Advice / Lifestyle
Monday, July 27th, 2020 @ 11:47am
Welcome to our garden! Michael and I are delighted to invite you on our journey of building the perfect vegetable and herb garden. This raised garden bed build came at an interesting time in our lives when, for the first time, both of us were able to live and work from home together.
During the pandemic, Michael and I were fortunate enough to be able to put the time into our own home that we often give to others. For what felt like the first time, we were able to truly give all of our attention to our home. . Considering the circumstances, it was the perfect time to return to and tend to the land. There is nothing more humbling, rewarding, and magnificent than growing food yourself for your family and community.
My desire for a vegetable garden started when I was in grade school. When I was young, the first plant I ever grew was a bean, and from that moment I declared that I wanted to be a bean farmer when I got older. Since grade 2 I have nurtured many passions, but lately I can truly say that I am circling back to my profound appreciation and love for gardening. After 20 years of yearning for some land to tend to, together, Michael and I finally put our green thumbs to work.
In-Ground vs Above Ground Garden Beds
Since this was the first time either of us had the opportunity to build a vegetable and herb garden, Michael and I spent weeks researching what it takes to build and grow a garden.
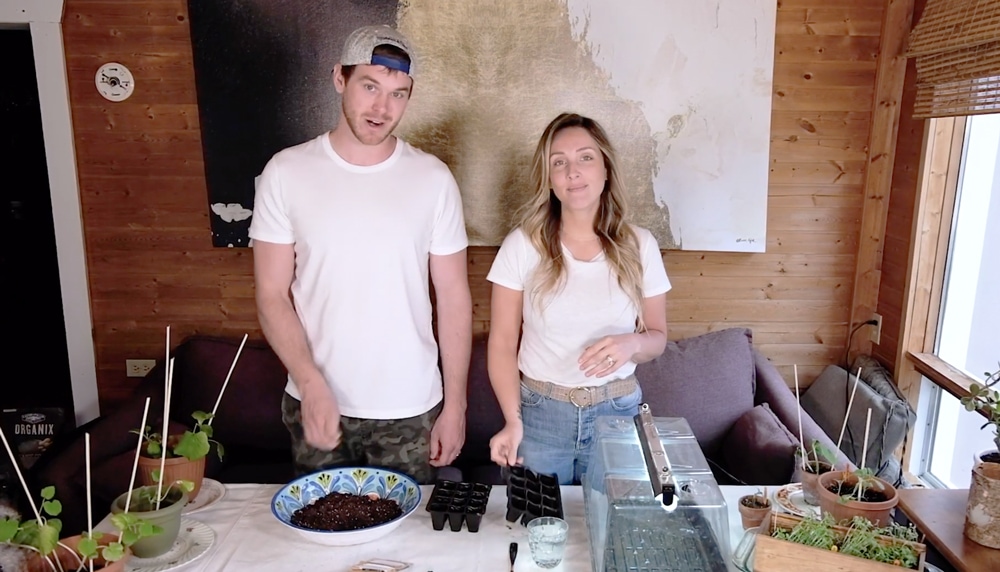
Throughout this research phase, we discussed the pros and cons of an in-ground garden bed vs a raised garden bed.
We discussed the pros and cons of cedar vs stone garden beds. We learnt about the different planting timelines, zones, and frost dates. After weeks of deliberation, we finally gained the courage to start our build and put our plans into motion.
We drew much inspiration and support from our neighbours and garden mentors, Nancy and George, as well as a few gardening books I have collected over the years, and of course, we turned to the internet for creative ideas.
Once the ground thawed, we went to work.
Selecting Stone Raised Garden Beds
Michael and I debated the pros and cons of cedar raised garden beds vs stone raised garden beds. As a carpenter, Michael was keen to put his skills to work and build a really cool cedar garden bed.
Here are a few of the points that we took into consideration:
Pros of Building a Cedar Garden Bed:
- Michael is a carpenter, which means he is familiar with wood working and can build some really cool raised garden beds.
- Cedar is more cost effective in the short term.
- Cedar is an easier product to work with. It is lighter than stone and can be moved around more easily.
Cons of Building a Cedar Garden Bed:
- Cedar requires maintenance over the years. If the cedar raised garden beds are well maintained, they may last up to 15-20 years.
- Long term costs. Cedar is not the most affordable wood but it is the healthiest and hardiest wood to choose for your garden. However, if you have to replace your cedar raised garden beds every ~10 – 15 – 20 years, the cost does add up.
Pros of Building a Stone Garden Bed:
- Longevity. Stone gardens require little to no maintenance. They are durable and will withstand the test of time.
- Long term, stone raised garden beds are more cost effective. They are the more expensive option up front, but it’s a payment that is essentially one and done.
- Style points. Our house is a century home and as a result, we believed that the stone aligned with the character of the house and property.
Cons of Building a Stone Garden Bed:
- Higher cost upfront.
- You need special skills to work with a stone garden bed, and Michael isn’t a mason.
- Stone is heavy and requires serious strength and equipment in order to move and work with it.

Michael working hard carrying that heavy stone.
The Final Decision:
There are so many amazing things that you can do with cedar, it’s truly impressive, but cedar has a few limitations that we mulled over and eventually we decided to build a raised garden bed made of stone.
Read our next blog on the actual planting process to see what we ended up planting!
