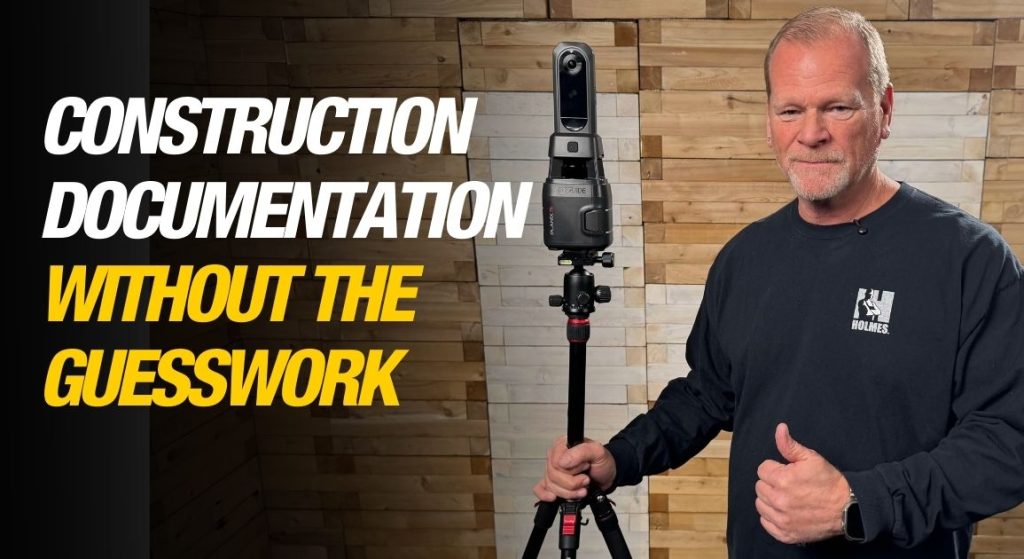
I love exploring new technology—especially when it genuinely improves how we work in construction—and I recently came across one that truly impressed me, iGUIDE by Planitar Inc. In my...
How To Level An Uneven Floor
By Mike Holmes
Mike’s Advice / Flooring
Tuesday, January 19th, 2021 @ 12:16pm
Throughout my career, I have seen some really crappy tiling jobs and it’s usually because the contractor didn’t level the floor. When it comes to flooring what the finish looks like is largely a result of what’s underneath it. If a new floor is in your home improvement plans, first determine if your floors are uneven.
Here are some signs your floors are uneven:
- Does your floor slope?
- Are you noticing high spots?
- Are areas of your floor squeaking?
- Is there bounce and movement when someone walks across it?
- Are the tiles or grout cracking?
If you are experiencing these, then you need to have your contractor look at the floor’s structure and the subfloor and possibly beef it up. I hate squeaky floors. Absolutely hate them.
You want to make sure your subfloor is properly glued and screwed to the floor joists underneath. If it’s not you will get squeaking and creaking.
Safety First
Before you start any job though, make sure you have the right PPE. This includes safety glasses, a mask and gloves.
I don’t recommend homeowners taking on a self-leveling job themselves. This is a major project and can cause huge issues if not done by a professional.
How to Determine If The Floor is Uneven
You may be able to feel the unevenness just walking around.
Check the flatness of your concrete by using a level if you have one.
Lay it on the floor, with one end of the level on the level part of the floor and the other end at the lowest point. Raise the lower end of the level until the bubble is centered, then measure the distance from the bottom of the level to the floor to find the depth of the dip.
Here is another easy way to find out where the “drop” is. Drop a couple of marbles or tiny balls on the floor and watch where they roll.
Ready to tackle your uneven floors? Let’s get started.
What Type Of Flooring Are You Installing?
The self leveler I will talk about is good for:
- Ceramic tiles and natural stone (can be installed 24 hours after applying the self leveler).
- Floor coverings (carpet, vinyl, PVC, rubber, engineered wood flooring) can be installed after 1 to 3 days.
- Suitable on floors with in-floor radiant heating.
- Excellent underlayment for tiles, sheet products and wood floor bonding systems.
Starting with a level surface is key when it comes to installing flooring.
First Step-Prepare The Floor
Vacuum the concrete floor well. Remove all dust and debris that may be on the floor. Anything on the concrete, including dust, can slow down the progress of the compound.
Pick Your Self-Leveling Cement
Self-levelling cement is a good alternative for levelling without having to fix the entire structure of the floor. Using a self-leveling floor compound will help ensure that the concrete is completely flat before you lay the tiles.
But make no mistake: it’s not a one-solution-fits-all.
There are many self-levelling cement products, from many different manufacturers, and each of them has its own set of processes and instructions to ensure it gets done right, and these must be followed precisely.
You also need to know exactly how much levelling you require for your project. Do you need to bring up the floor one inch, an inch and a half, two inches? This will affect the type of self-levelling cement product needed.
The self-levelling product I recommend is Sika L125. I have use other manufacturer’s products but this one performs the best.
Adding a layer of self-leveling compound to your concrete adds an extra day to your flooring job, but it reduces the chances of problems with your flooring later.
For specific product information on the Sika L125, please visit their page.
Prep the floor with a Primer
Don’t skip this step. Too many people do. A primer is important to create a base and ensure good bonding of upper floor layers. It also protects the substrate against moisture from leveling compounds or adhesives above.
I use the Sika primer on my jobs. It goes down as green and becomes translucent when it dries. Takes about an hour or so to dry.
To apply it, just roll it on the floor, simple as that. The product comes ready to use, so you don’t have to worry about diluting it. It will effectively seal your concrete floor.
Here’s a bonus-it is water based and solvent free, and environmentally friendly.
Whatever primer you use, make sure you follow the manufacturer’s instructions.
Mixing & Applying the Self-Leveler
You need a bucket or a mixing bin to prepare your compound.
Don’t forget a dust mask. You don’t want to be breathing in that stuff.
Four litres of water and one bag of Sika 125 is what you need to mix in a bucket. The great thing about this product is that you don’t need to level by hand.
It’s high flow fluidity properties allows you to apply manually or by pump. Just pour it on your concrete floor. You can tile 24 hours after applying the self-leveller.
For best results, ensure that all sources of premature drying (like direct sunlight) are blocked off. You don’t want this curing before it’s time.
Check out my instagram to see a reel of a demonstration on how to level an uneven floor
The Best Self Leveler for Concrete Floors
In my career as a contractor, I’ve tried many different products. I use the Sika L125 on all my jobs to level a concrete floor. It works well with tile, vinyl and hardwood. I love it because you can pour it one day and walk over it the next. My crew and I have had great experience with it. It is:
- Easy and quick to install.
- Zero VOC content and low odour.
- Highly fluid and self-levelling.
The No. 1 rule is to always follow the manufacturer’s instructions. This is crucial.
RELATED
