When Lisa Marie and I started planning our new primary bathroom, we agreed on one thing right away. We had to use Schluter Systems to ensure the wet-room bathroom waterproofing...

Fall House Exterior Maintenance Checklist
By Mike Holmes
Mike’s Advice / Home Safety & Maintenance
Thursday, November 17th, 2022 @ 5:00pm
Fall Maintenance Tips and Clean-up List for Your Home To Get Ready For Winter
When it comes to home maintenance, it is constant. Most homeowners who are diligent about doing them reap the rewards of a well-functioning, well-maintained, healthy home, but as we all know, it’s a lot of work. That’s why I love having checklists. You may not be able to do everything at once, but it’s essential to do them regularly, especially if you notice things along the way that require attention. The summer months have gone, the cooler fall temperatures are upon us, and soon that dreaded winter season will be here. So it’s time to take care of those fall house maintenance items before the cold season hits.

Inspecting the exterior of a home we worked on for Holmes Family Rescue.
Here are some fall maintenance tips to get you prepared ahead of the next season.
Exterior Maintenance Checklist
Here’s the list of top home maintenance items to get you ready for the winter months:
- Check to ensure trees and structures are a safe distance away from overhead powerlines
- Inspect exterior finishes
- Check for exterior cracks in brickwork and make repairs
- Check for exterior cracks in the foundation and make repairs
- Check for peeling paint
- Inspect garage door and call for maintenance if required
- Check windows and doors
- Inspect your roof
- Install Storm Windows and Doors, if applicable
- Inspect the chimney
Take Care of the Power Lines Near Your House
Most of the time we don’t think much about the power lines that surround our buildings and homes unless there’s an issue. You can receive a fatal shock without ever touching the powerline. If you come too close, electricity may “arc” or jump to you or your tools —such as a ladder or extension pole. Make sure you and your tools stay at least three meters away from powerlines, at all times.
In fact, there are several safety tips everyone should be aware of when it comes to powerlines.
Pruning Trees Around Your Powerlines
Do you know that making sure your trees and vegetation are a safe distance away from utility power lines that connect your home is the homeowner’s responsibility?
If this sounds like your property, don’t think about pruning it yourself. Get a licensed professional, like a utility arborist to prune any tree branches within 3 meters of the powerline.

Some jobs are best left to the pros. If your trees need pruning, be sure to call a specialist utility arborist for the job.
You can receive a fatal shock without ever touching the powerline. If you come too close, electricity may “arc” or jump on you or your tools. Make sure you stay at least three meters away from powerlines. Never climb utility poles and stay away from all overhead electrical equipment.
READ MORE:
Powerlines Buried Below Ground
Sometimes power cables are buried in the ground. Before you begin building a deck, fence, or any other landscaping project it’s important to request the location of all underground utility infrastructure. Natural gas, power, and communication lines, as well as water and wastewater pipes, are all included.
Contact Ontario One Call to request the location of all underground utility infrastructure.
The company does not locate private underground powerlines that service a pool or a separate garage. To get your private lines marked, you must hire a competent private locator.
READ MORE:
Children’s Safety & Powerlines
It’s essential that we teach our kids to understand the dangers of electrical power lines and electrical equipment at an early age.
Children should be warned not to climb trees close to powerlines, as wires can be hidden by foliage and branches. Don’t forget to teach them not to climb on the large green electrical boxes found in parks or on lawns.
CONTACT YOUR LOCAL UTILITY BOARD TO FIND OUT WHAT YOU NEED TO KNOW TO PROTECT YOURSELF AND YOUR FAMILY
Exterior Finishes
I’m always advising homeowners to maintain the exterior of their house so it will protect the interior of their home. That means doing a seasonal walk around your property and doing a visual inspection of the exterior of your home. Check exterior finishes for deterioration, like peeling paint, rotting or loose siding, and cracks or crumbling mortar on bricks.
Cracks in Exterior Walls
Inspect your brickwork for signs of missing or crumbling mortar joints. You may also want to perform a probing test with a small knife. If the mortar is loose, crumbling or it comes out easily when digging it may need repairing. If there are any signs of peeling or degradation, this could be an indication of water damage.
Efflorescence is a white, powdery substance that forms on the brick. Despite being unsightly, it typically does not harm brick masonry. However, it is a sign that there is too much water in the masonry, which could result in more serious problems.
Check for Any Cracks Or Holes In Your Exterior Wall That Could Let Mice and Pests In
As winter approaches and temperatures drop, animals and pests begin to plan their winter habitats. Unfortunately, this could mean that they are interested in your house as a potential spot. Let me tell you, you don’t want mice in your house since you never have just one.
The first step in avoiding this is to make sure that your home’s exterior is properly sealed. Mice, rats, and squirrels can fit through the smallest of gaps. They are also excellent climbers and jumpers. Do a perimeter check on your home twice a year, looking for any noticeable cracks and holes and fill them in right away.

Mice droppings typically mean you have more than one mouse. Seal cracks and holes around windows and doors to help prevent mice from being house guests.
This SikaBoom Pest is great for this type of project. It’s an expansive polyurethane foam. It’s very easy to use, it comes with its own straw. But what makes this different is that it actually contains an EPA-registered pesticide that protects the foam from being eaten and attacked by mice and other pests. So you can sleep well at night knowing those pests are far away.
READ MORE:
Check Foundation for Cracks
I always say when it comes to your house, fix it from the outside in. Any damage to your home’s foundation is not good. If left untreated, foundation cracks can become bigger and bigger, and compromise the structure of your home
What does it mean if you see cracks in your foundation walls? Big cracks in your foundation might be a sign of a serious issue. It’s best to call a professional to take a look and assess the work needed. However, smaller vertical cracks are common due to the shift and movement of your home’s foundation —but they still need to be fixed as part of your regular home maintenance.

The general rule is if you can insert a dime in the crack then consult with a professional. Cracks that are wider at one end or get bigger over time could mean serious issues.
I recommend the Sika Foundation Repair Kit. This is a great product whether you’re a professional contractor or seasoned DIYer or handyperson. It is very easy to use, and it comes with everything you need to fix a foundation crack in the package.
The Sika Foundation Repair Kit includes a polyurethane injection foam, quick-setting cement, and injection tees. You can also watch a video by scanning the QR code on the box to help you with the process.
Remember, if you notice water getting into your basement, then you need to get this checked out immediately and consult with a basement waterproofing specialist.
RELATED:
Peeling Paint
If the exterior paint on your house is peeling it could be from the wear and tear of the elements. Wooden exteriors should be painted every three to seven years and aluminum siding needs to be painted about every five years.
Weatherstripping Garage Doors
An essential part of a garage door is the door seal or door sweep. This helps prevent the elements, like rain and snow, enter your garage. Typically, the door seal on good-quality doors should last for several years.
However, this can vary depending on the quality and material the seal is made from, whether it’s rubber or vinyl. The material needs to be flexible and when the door closes it should compress, sealing the gap along the floor to keep out water, dirt, air, snow, and critters. My advice is to check this periodically for gaps or cracks and rips and replace it right away as needed.
RELATED:
Check Caulking Around Windows and Doors
To prevent air, water, and even insects from entering around doors and windows, small gaps and openings should be filled with silicone caulking that is flexible and waterproof. I recommend doing seasonal inspections.
If you have larger cracks, they should be filled with expandable foam, like SikaBoom which we use on all our projects. This inspection needs to be applied to your home’s exterior and interior for maximum protection.
For long-lasting protection around your windows and doors, choose a high-quality caulk made from silicone or polyurethane. 100% silicone caulk or a mix of silicone and latex, is waterproof, flexible, shrink-proof, and will last over 20 years.
RELATED:
Examine Your Roof Shingles
Your roof goes through a lot —scorching heat, frigid temperatures, rain, sleet, hail, snow, and at times record-breaking winds. So, it’s essential to keep an eye on it on a regular basis. Whether it’s a flat roof, an asphalt roof, or a metal roof, it still needs to be maintained.
For asphalt roofs check for missing, or broken shingles, and remember a problem with your home’s exterior will eventually become a problem with your home’s interior, if not addressed. It’s only a matter of time.
Remember, while I always recommend hiring a professional, if you ever go on the roof make sure you are a safe distance away from electrical service masts or arrange to have this disconnected with your local utility provider.
RELATED:
Metal roofs need to be checked for loose or separating panel seams, check for corrosion and rust spots, or damaged flashing material.
Ladder Safety
I wouldn’t recommend homeowners get on a ladder to look at their roof, I would recommend hiring a pro. However, if you are going to go up there yourself, all I can say is please be smart about it. Always have a spotter.

When climbing your ladder always observe the 4-1 rule. For every four feet, you go up, bring the ladder out another foot.
If there are powerlines in close proximity, you may need to arrange for the utility to temporarily disconnect your power while you work to make sure it is safe or have a plan if shutting off the power is not possible.
Never carry a ladder straight way up. Always carry a ladder sideways and be careful maneuvering the ladder, especially in cases where trees and bushes, and powerlines are close together.
Install Storm Windows and Doors
Storm windows were popular and are required in older homes constructed with single-glazed, wood-framed hung windows. These homes were made with double brick that usually had plaster walls, so this added another layer of protection and protected the wood frames/sashes.
However, if you have new energy-efficient double and triple-pane windows, storm windows are not necessary for several reasons:
- Most modern (casement/awning) windows crank outwards and the storm window would prevent the new from fully opening.
- New modern windows have come a long way. They are now engineered, designed, and constructed much better. Now we have double or triple-glazing options with low e-coatings along with argon/krypton glass options.
- Storm windows are sometimes considered to be an eye-soar
Installing Storm Doors
Storm doors are not as popular as they used to be. They were very popular in the same era as storm windows, for the same reason of adding an extra layer of protection from the elements. However, just like windows, entrance doors are now made with better, high-quality materials, like wood and steel.

Not every home will need a storm door to protect the main entry door, but it does bring a few benefits.
With that said, I would still recommend adding a storm door for porch enclosures for extra safety. Also, in the case of non-sliding patio doors with no overhang, I would add a storm door. If not installed, the driving rain will wreak havoc on the bottom threshold and you will always have moisture issues.
Checking the Chimney
A trained chimney sweeper has the equipment necessary to inspect your fireplace and make sure it is operating properly. They will detect serious problems like damaged chimney caps or liner fissures.
You can determine whether the damper is sealing properly by giving your fireplace a thorough inspection. Most businesses will provide you with a variety of options for chimney inspections. In order to find out what kind of inspection is suggested for your system, you can also speak with your chimney cleaning business.
RELATED:
Clean up Falling Leaves, Plants, and Flowers
I’m not a gardener but Anna is and there are many chores, homeowners should do as they prepare for the fall and winter months. These include:
- Empty, clean, and store planters
- Pack up any delicate or cold-sensitive garden art or feeders
- Burlap plants, shrubs, trees, and bushes susceptible to harsh winds, ice, and cold
- Dig up any bulbs that won’t survive the winter
- Add mulch to the garden
- Prune any dead, damaged, or diseased branches, fruit trees need late-winter care. But remember to watch out for power lines.
- Once the trees have dropped their leaves, rake and clean up the yard, if a lot of leaves are left on your lawn, it will kill your grass
RELATED:
Cut Grass Short
Fall time is an important time to treat your lawn and prep it for the winter months. Experts suggest that you treat your lawn with a nitrogen-enriched fertilizer. This will provide nutrients and protection for your lawn over the dormant months.
If your lawn is looking a little sad or has bare patches the fall is a good time to plant new seeds before the trees drop their leaves. With a final mow and clearing of leaves as a final step, your lawn should be good for the winter months.
Clean porch and Deck Furniture and Repairs When Needed
The best way to keep your outdoor furniture in good condition is to protect it and NOT leave it outside over the winter exposed to all the elements. Give it a good cleaning and repair, if required before covering it or storing it properly in the garage, basement, or shed.

Photo from Holmes Family Rescue. Outdoor Backyard Sitting Area With Fire Pit
Make sure your BBQ is properly covered too. If your furniture and BBQ stay outside, make sure they are tied down so they don’t cause a hazard during high winds.

Photo from Holmes Family Rescue.
Sweep and clean your porch or deck and inspect for any damages or repairs, if you are concerned get a pro to look it over before the winter.
Repair Your Fence Before The First Snowfall
Concrete fence post repair or installation can take a lot of time and effort. I recommend using Sika PostFix which is an expanding polyurethane foam. Two bags of concrete can be replaced with one bag of Sika PostFix. It’s also very easy to use and sets quickly —saving you both time and money.
This is a two-component, mix-in-the-bag expanding foam that I’ve been using on my projects. Here is how it works:
- Roll the pouch, starting at the compartment containing Component A, working towards the ‘burst seal’ in the direction of the arrows shown on the back label.
- Apply pressure to the rolled section to rupture the seal and allow Component A to flow into the compartment containing Component B.
- Mix thoroughly by then rolling out the pouch and rubbing the bag along a table edge or any 90-degree surface (no sharp edges).
- Mix for 15 seconds only by forcing the material to travel inside the bag, from one end to the other (using a “shoe shining” technique)
- Cut the bag open with scissors at the corner
- Pour mixed material into the hole. Empty the bag into the hole, pouring some of the material onto the post itself

Step-by-step process of how to use the Sika PostFix to repair or install a fence post.
RELATED:
Drain Exterior Water Lines
Before winter arrives, find all of your outside water shut-off valves, drain and close them. Remember to unhook the hose, empty the pipe, and store your hose in the garage or basement for the winter.
Test and Clean Your Septic System
Septic tanks should be pumped out at least every three to five years and inspected by a certified professional at least every two years. Even though your septic tank has a substantial capacity, you must empty it frequently.
Septic system installers in Ontario are required to hold a provincial license. These businesses must employ competent individuals who have successfully passed the Ministry of Municipal Affairs and Housing test. Verify a septic installer’s license before hiring them.
RELATED:
Keeping your Septic System in Top Shape to Manage Wastewater
The summer and early fall are the best times to pump out a septic tank. Pumping at this time of year gives the tank enough time to fill up and the bacterial activity to resume before winter. Additionally, the higher water tables that generally occur in the spring will not have returned, and the ground around the tank won’t have frozen, making entry easier.
Other Home Maintenance Items
Check Your Snow Equipment Is Working
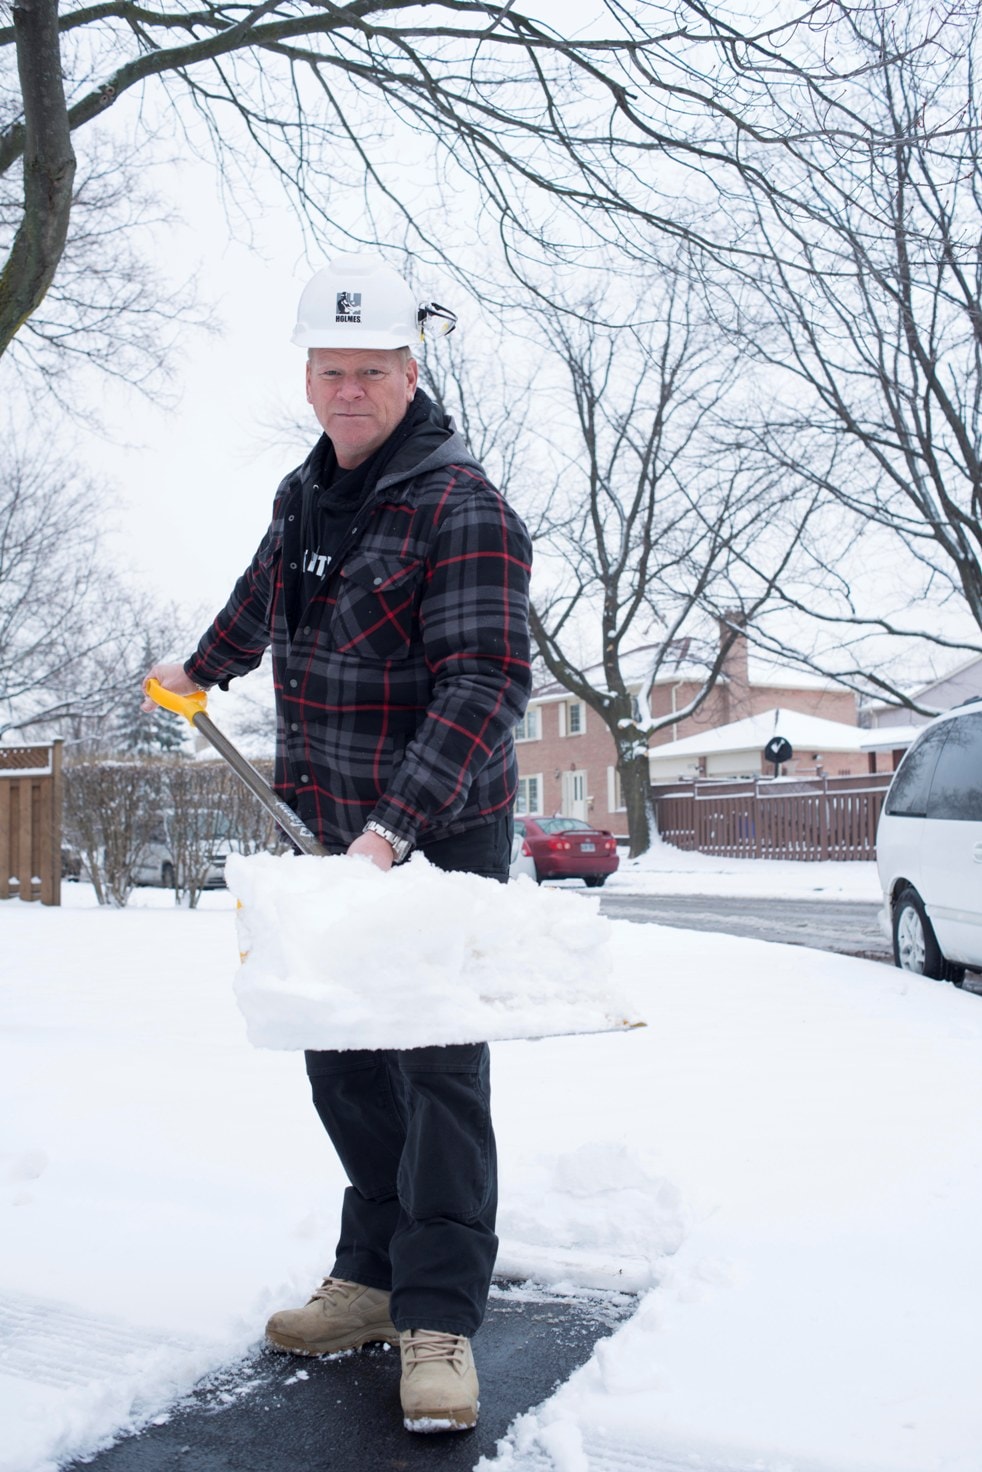
The cool evenings are a good indication that fall and the dreaded winter will be here before we know it. So, while you have time, here’s a reminder to be prepared. Make a note to check your snow blower and ensure it’s in good working order. And while you are at it, check you have sufficient salt/sand or deicer for the start of the season, and that your shovel and brush are in good condition as well.
I hate to say it, but that first snowfall whenever it plans on happening is always a shocker to most of us – it will never be as bad as they say, right? Be smart and be prepared before the rush.

If there’s snow be sure to shovel your driveway right away before it piles up, and puts you or anyone on your property at risk of falling —you will be the one liable.
Check the supports, Stairs, and Handrails
Ensuring that your stairs and handrails are stable and are not a tripping hazard is not seasonal. When you notice a problem, deal with it and don’t wait because it will only get worse, and you don’t want to have to deal with it when there is ice, snow, or rain to contend with as well.

If needed don’t be afraid to rebuild your stairs. Doing renovations now before the winter could improve longevity and make your home safer.
Checking Driveways For Cracks
The spring and summer seasons are ideal for hot paving because these months typically have temperatures of 70 degrees Fahrenheit or higher. Although it is feasible to pour asphalt at temperatures as low as 50 degrees, the results won’t likely be the best. So, if your driveway looks like it needs a refresh, consider booking it now for next spring because it’s only going to get worse over another winter.
Concrete driveways should last a long time – anywhere from 25 to 30 years with proper care. The key to prolonging the life of your investment is to pay attention to wear and tear each season.
Cracking is common unless it’s severe or occurs quickly after construction. Other than affecting the look of your driveway, cracks can allow for water and moisture to seep in especially when it rains or snows —and if left untreated it can cause major damage over time and cost more money down the road! Regular maintenance that includes sealing cracks will help prevent future damage.
If it’s a big crack I recommend hiring a professional company to fix it up. But if you’re a seasoned DIYer who’s looking for a quick way to patch up smaller cracks, I recommend checking out Sikaflex Asphalt Sealant. This can fill cracks up to 1.5 inches wide. You don’t need tools, it levels itself.
It’s matte black, so it will blend nicely with your asphalt surface. It bonds to asphalt and concrete. In about an hour, you won’t find it tacky. Simple DIY repair project!
RELATED:
Home maintenance is a constant, and you will have seasons that are less demanding than others but having a schedule and keeping an eye on things in and around your home is half the battle. As with most things, if you take care of them, they will last a long time, and the saying rings true for your home.
READ MORE:
DIY Concrete Repairs You Can Do Yourself


