I love exploring new technology—especially when it genuinely improves how we work in construction—and I recently came across one that truly impressed me, iGUIDE by Planitar Inc. In my...
DIY Herb Wall Garden – How to Build a Herb Wall
By Sherry Holmes
Mike’s Advice / DIY Projects
Thursday, April 23rd, 2020 @ 3:25pm
Easy way to DIY a wall-hung herb garden
While my main job is to work on-site with my family to help build and fix homes for deserving families, at the end of the day, when I kick off my work boots, I still love to come home and take on some of my own small projects. I’m going to tell you how I build this herb wall.
It helps me relax, and keeps me busy while I’m at home – plus it helps me make our house feel more like home.
For each family we worked with during Holmes: Next Generation our goal was to present them with a cool feature built by my brother and I. One family we worked with presented a unique challenge. We were helping the family finish their home, so the family could sell it not long after.

Here’s a photo of us with the family. The father had a job several hours away, and he wasn’t getting to spend any time with their young son.
The challenge was: that we needed to create something unique for them, that could also be pretty easily transported to their next home. A feature wall or unique built-in shelf wasn’t going to cut it this time. So what could we do?
The Herb Wall Project:
Enter the herb wall. I knew that this family loved to cook, so what better way to recognize that than by building them a portable, movable herb wall for their current AND future kitchen?
This is a project I really love – and for any amateur DIYers out there, it’s not difficult to complete the project. With the right materials on hand, you can put it together in an afternoon.
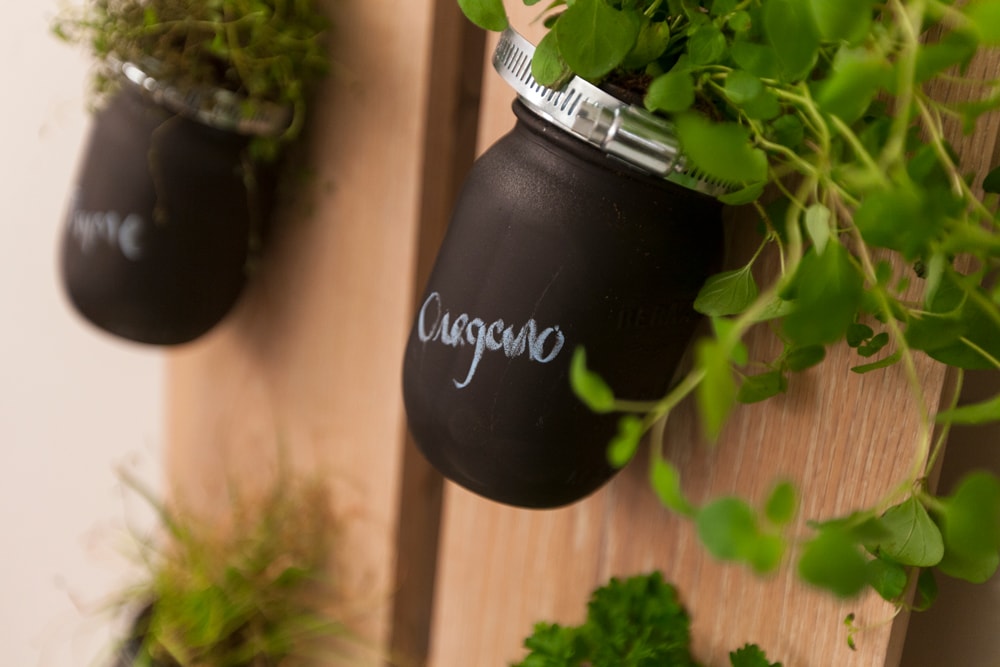
Herb walls can bring a lot of life to your living space!
The Materials Needed for a DIY Herb Wall:
A lot of these you may even have to lay around the house – but putting in quick order at your local hardware store can get you everything you’re missing. My local hardware place even offers curbside pickup, which is especially great during this time of social distancing. Here’s what you’ll need:
- Chalk paint
- Chalk
- Mason jars
- Hose clamp
- Screws
- Stain
- Backer board
Step One: Paint The Mason Jars of Your Herb Wall
Start by painting your mason jars. I used spray paint to help ensure I covered them evenly, but you could do the same with a brush.
I loved using the chalk paint because it lets you write on the jars in case you switch up herbs. It also covers up the roots so all you see is some nice green poking out of the jars.
I used about 3 coats to ensure it was properly covered.
Step Two: Measuring The Plank Boards
The version of the herb wall I made was three separate plank boards that would hold three herbs each. To me, this made sense for our purposes so that the herbs could be easily picked up and moved as necessary. You may find you want to use a bigger board.
Measure out your spacing for the jars on each plank and mark where you’ll be placing them.
Step Three: Cutting and Sanding
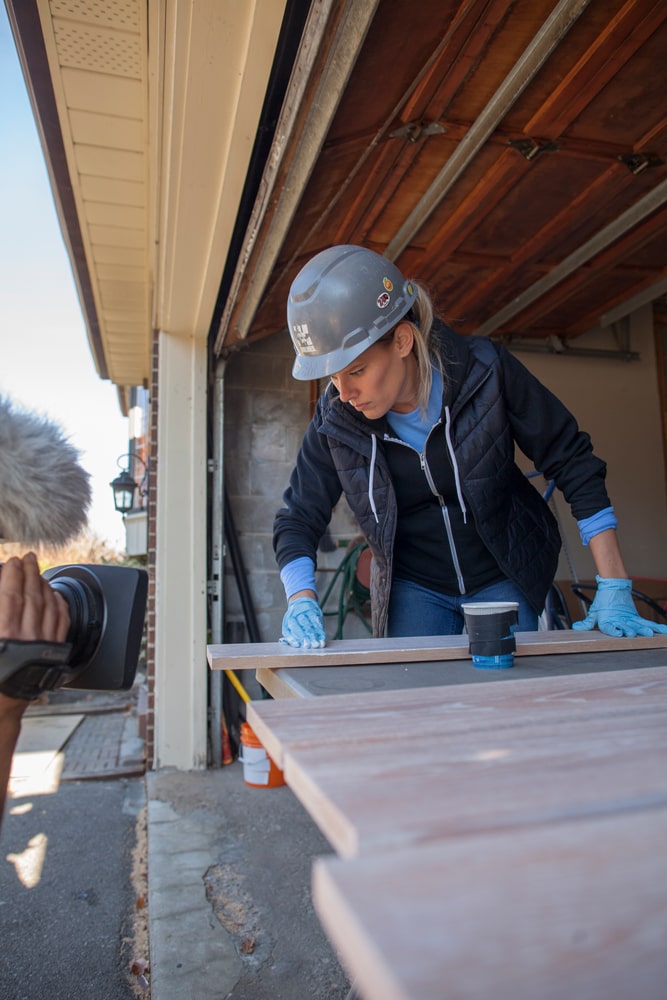
Once I had the wood I wanted to use, I cut it to size and sanded everything.
Making sure my edges weren’t sharp, and the entire piece was free from any splinters.
Pre drill a small hole into the hose clamps, and one into the wood, and screw the hose clamp to the wood.
Step Four: Add Soil and Herbs To Your Mason Jars
Believe me, don’t do this step AFTER step five or it could get a little messy! Fill your jars with soil and the herb. This will help keep you from getting dirt everywhere.
Step Five: Attach Jars to Board on the Herb Wall
Once your herbs are all planted, place the lip of the mason jars into the hose clamp, and tighten.
For our homeowners, we simply leaned the boards on the back of the kitchen counter, balanced with the back wall. This meant they could pick them up and place them wherever they liked. If you have a permanent spot in mind, affix it to your wall.
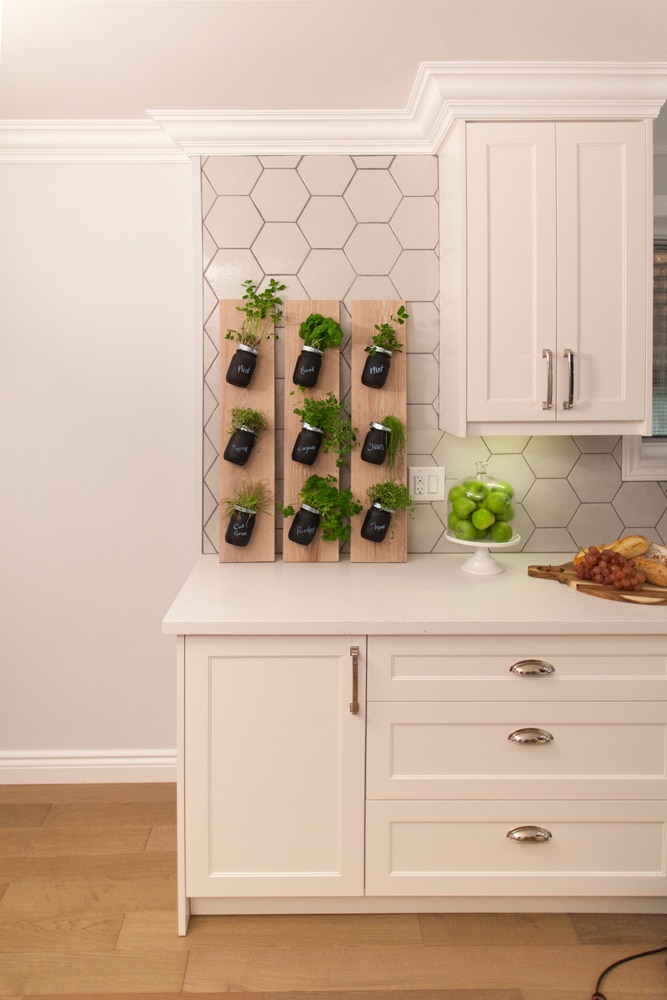
And voila!
You’ll always have fresh herbs on hand for cooking or a cocktail. Enjoy!
RELATED
Ready to tackle some more projects around the house? Here are 8 DIY projects that you can do on your own.
