
HOW TO STAY ORGANIZED IN A SHOWER Keeping your bathroom organized can be a challenge, but with the right strategies and storage solutions, you can transform your shower area into...
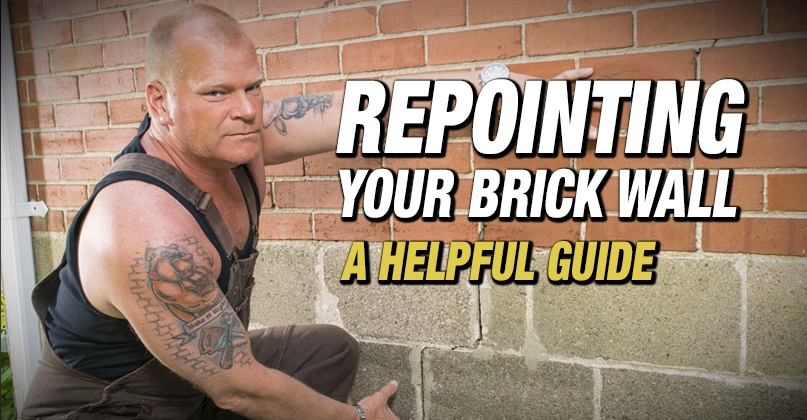
Repointing Your Brick Wall – A Helpful Guide
By Mike Holmes
Mike’s Advice / Outdoor Renovations
Thursday, July 16th, 2020 @ 4:17pm
Is It Time To Repoint Your Brick Walls?
Your masonry provides major protection against damage from moisture penetration. Inspect the mortar between your bricks carefully. If it’s crumbling or missing all together (often happening over time due to erosion from water and wind), you need to replace it quickly.
Left unattended, it can cause bricks to loosen and create a path for water to get in. Once that water enters, it can cause mold and rot – leading to a much bigger, more difficult fix. Water that sits on exposed brick will seep in and cause the brick flake.
Make sure repointing brick is on your home improvement task list.
What Exactly Is Repointing Brick?
Repointing is the process of scraping out the old, damaged mortar and replacing it with new.
Brick walls tend to have a lot of longevity, but if you don’t address mortar issues quickly, you could see your brick wall fail far earlier than it should.
Don’t skimp on it. In cases of very minor cracking, you can probably handle some of the repairs yourself using some materials you find at the hardware store, but if it seems like too big a job for you, call in an expert.
The lifecycle of brick versus mortar is pretty significant. You’ll likely have to do mortar repairs a few times during the lifespan of a brick wall – but that’s a good thing if you do it right.
If your chimney’s mortar is deteriorating the bricks will get loose—a huge vulnerability for more water penetration that can get into your home’s structure. To fix this the mortar needs to be repointed.
Tools Required:
- Cold Chisel (or handheld grout saw) for removing existing mortar
- Pointing trowel
- Mortar board
- Scaffolding
- Soft brush
- Wire brush (to remove the dust and scrape off mortar on the brick surface)
- Respirator
- New mortar, and coloring agents if needed
- A hose to spray the joints with water
Here is How To Repoint Mortar:
Step 1: Remove The Old Mortar
Work in small sections to remove the existing mortar vertically and horizontally.
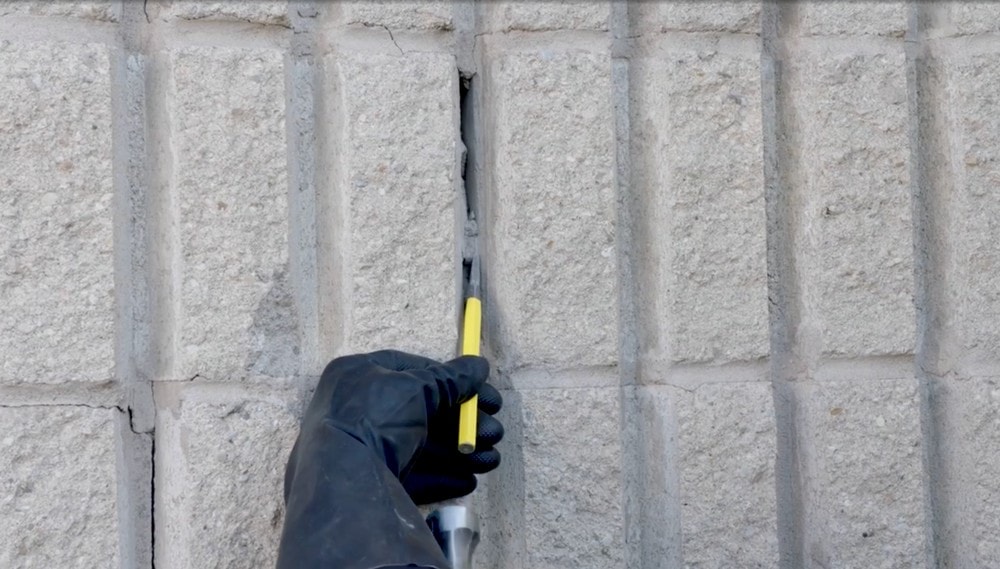
I recommend removing about half an inch.
Step 2: Remove the Dust
Once your mortar is removed, you can use a hose or wire brush to remove all the dust. Remember to wear a respirator to keep debris out of your lungs.
Step 3: Apply Moisture To The Wall
You can use a hose to soak your brick wall. This will ensure that the bricks and old mortar are hydrated and that they don’t suck the water out of the new mortar you’ll place between them the next day. I would let this sit overnight. The next day, lightly spritz the bricks one more time before beginning.
Step 4: Mixing & Applying The New Mortar
You’ll have to follow your manufacturer’s recommendation on this. I recommend the SAKRETE Mason-Craft. It’s available at Home Depot and has self-healing capabilities for small cracks or movements in masonry applications.
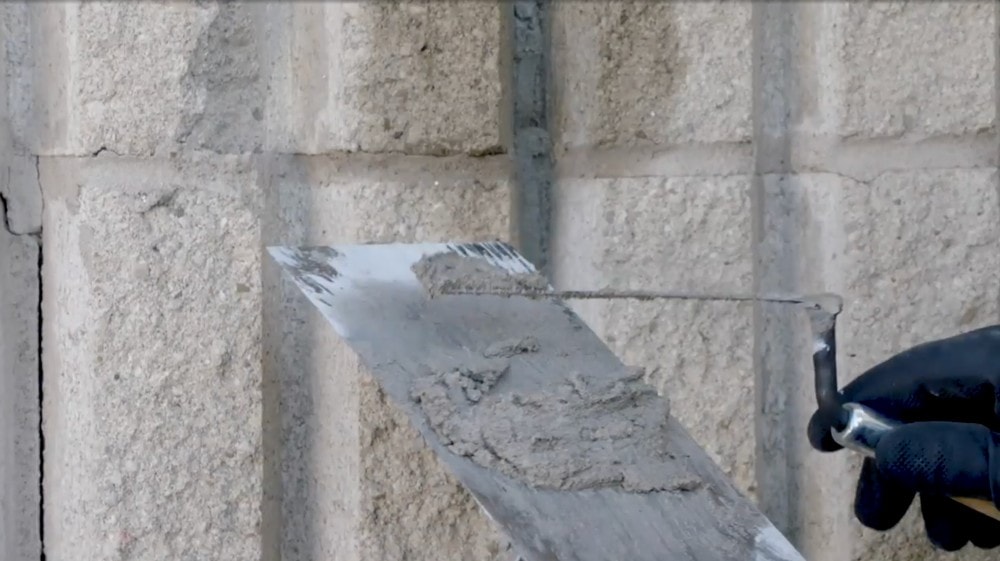
Make sure your mortar matches your existing color.
Step 5: The End
Scrape off any mortar remaining on the brick surface after an hour or so (to give it time to harden).
Spray Cork:
I want you to look into Vipeq’s Spray Cork technology. It’s called Thermal Corkshield™ and it’s a sprayed insulated cork product that is used on the exterior of homes and buildings.
When it comes to building materials, I think this is the product of the century. The cork is lined with micro suction-cups that permit it to adhere to the brick surface without allowing it to slide. The product is sprayed onto the surface with a texture sprayer by one of the teams in their “Network of Certified Applicators.”
It comes in 24 different colors, so you have lots of options. I’ve had this sprayed on my own shop and several projects I have worked on. Worth checking it out.
READ NEXT: Should I Paint My Brick House?
Related Articles

3 Things DIY TV Doesn’t...
Magazines and television shows inspire people to renovate. Home-improvement stores are full of great products,...
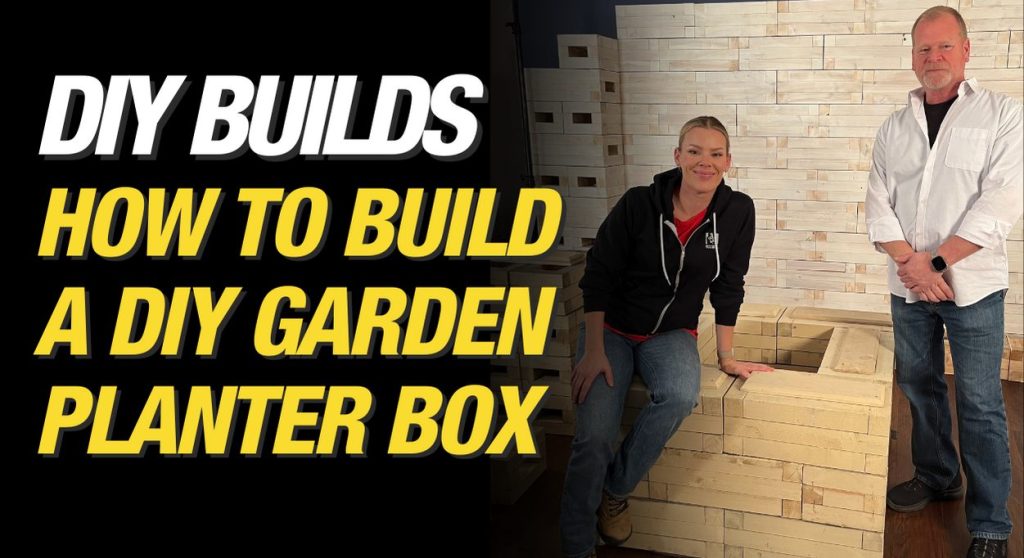
How to Build a DIY...
Tips to Build Your Own Planter Box If you live in Toronto, I am sure...
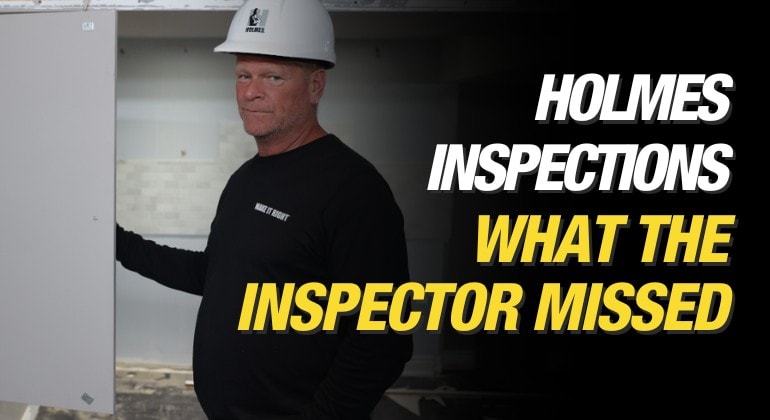
A Home Inspection Fail Story
Home Inspection Nightmares I started my own home inspection company (Mike Holmes Inspections) because I...